Java dependency injection tutorial
Java dependency injection tutorial
Here is a comprehensive Java dependency injection tutorial:
What is Dependency Injection?
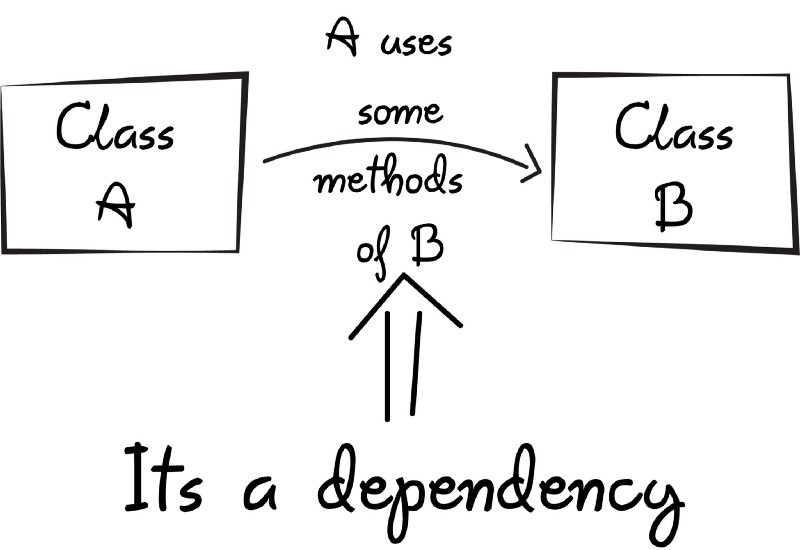
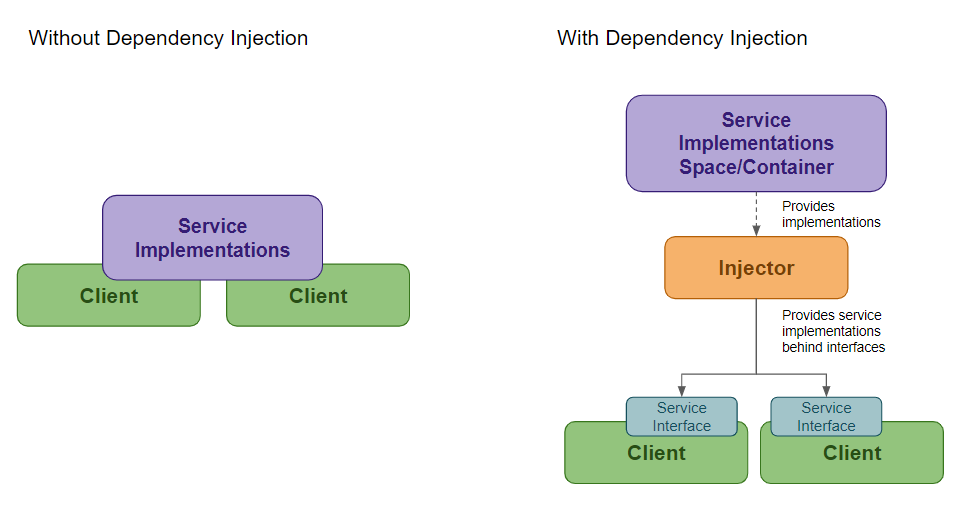
Dependency injection (DI) is an approach to software development that helps reduce the complexity of code by separating the creation and management of objects from their use. In other words, instead of creating objects manually within your code, you inject them into your object graph at runtime. This makes your code more modular, reusable, and easier to test.
Why Do We Need Dependency Injection?
In traditional programming, objects often create or manage the objects they depend on. This can lead to:
Tight Coupling: Objects become tightly coupled with each other, making it difficult to change one without affecting others. Complexity: Creating and managing objects becomes a complex task, making code harder to understand and maintain. Rigidity: Changing dependencies requires modifying the object's implementation, which can be challenging.How Does Dependency Injection Work?
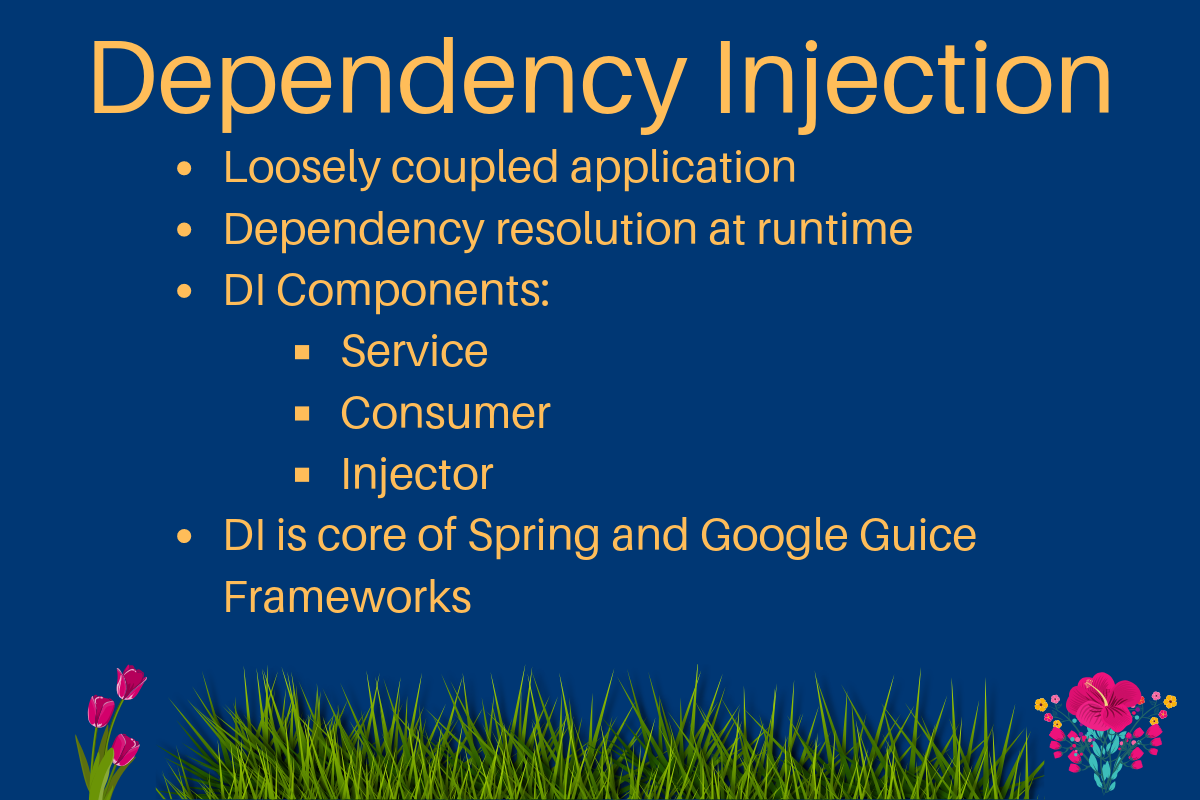
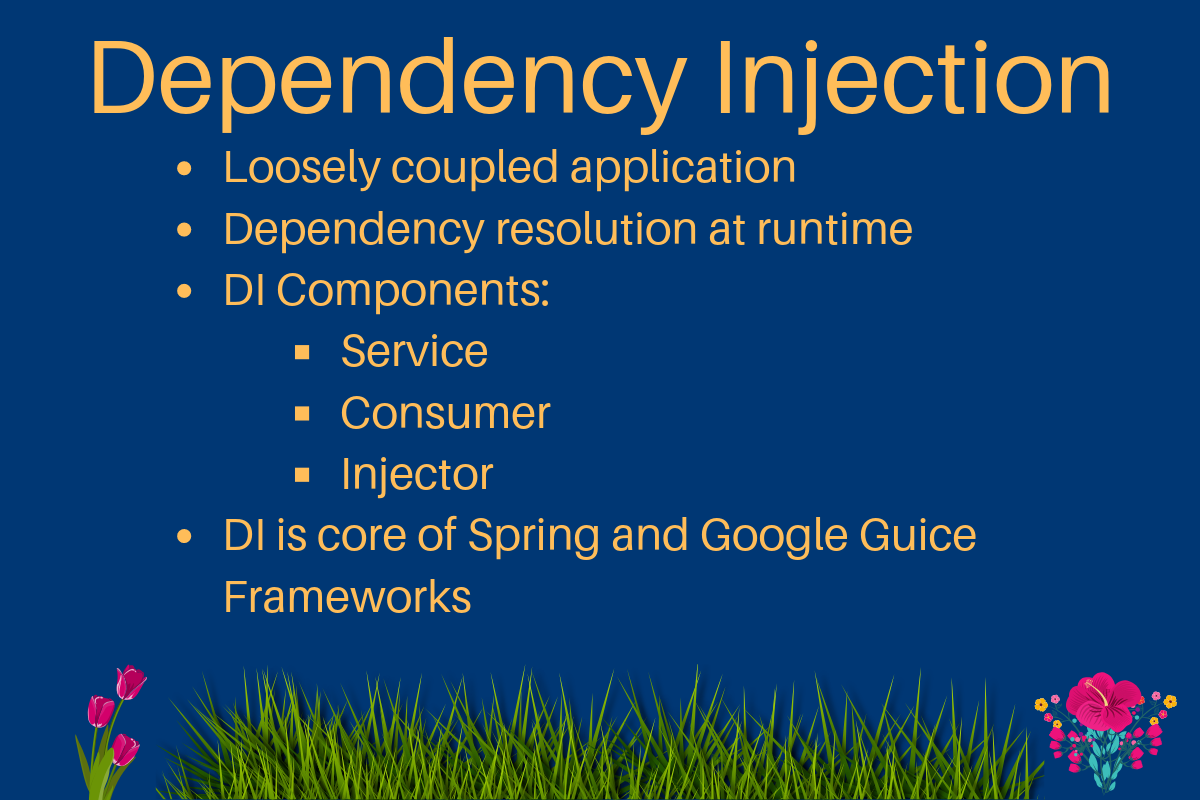
DI involves three main components:
Components: These are the objects that need dependencies (the consumers). Providers: These are the objects that create and manage the dependencies (the suppliers). Dependency Resolver: This is an intermediary object that connects the providers with the consumers.Here's a step-by-step example of how DI works:
A consumer class,Car, needs a dependency on an engine. An engine provider class, EngineProvider, creates and manages instances of Engine. The dependency resolver, DependencyResolver, is responsible for injecting the engine into the car.
In this example, the Car class no longer needs to create or manage its own engine instance. Instead, it simply asks the DependencyResolver for an Engine object, and the DependencyResolver handles creating and injecting it.
Java Dependency Injection Frameworks
There are several popular Java dependency injection frameworks:
Google Guice: A popular framework that allows you to bind components to providers using annotations. Spring: A widely-used framework that provides a comprehensive DI container for managing dependencies. CDI (Contexts and Dependency Injection): A Java EE specification that provides a standard API for DI.Best Practices
When implementing dependency injection in Java:
Use a consistent naming convention: Use a consistent naming convention for your components, providers, and interfaces. Keep interfaces separate: Keep your interface definitions separate from your implementation classes to promote flexibility. Use constructor injection: Pass dependencies as constructor arguments to ensure objects are properly initialized. Avoid circular dependencies: Ensure that the dependency graph does not contain circular dependencies.Conclusion
Dependency injection is a powerful approach to software development that can help reduce complexity and improve maintainability. By separating object creation and management from their use, you can write more modular, reusable, and testable code. In this tutorial, we explored the basics of DI and covered popular Java frameworks for implementing it. With practice and experience, you'll become proficient in using dependency injection to build robust and scalable software systems.
Thank you for reading!
What does @inject in Java do?
I'll be happy to help!
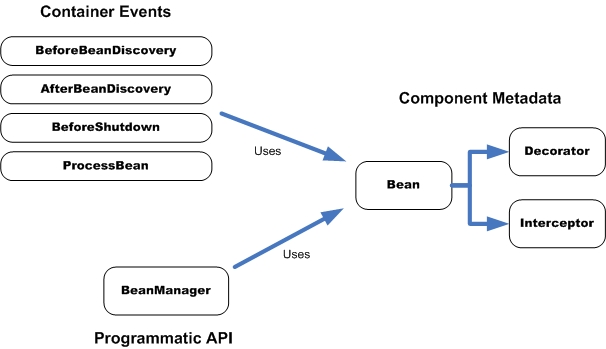
In Java, the @Inject annotation is a part of the Java EE (Enterprise Edition) specification, specifically designed for dependency injection. It's used by frameworks like CDI (Context and Dependency Injection), Weld, or OpenWebBeans to manage dependencies between classes.
When you annotate a method or field with @Inject, it tells the framework that you need an instance of some other class injected into this one. The framework will take care of creating an instance of the required class and passing it to your class, making its properties available for use.
The most common usage is in the context of CDI, where it's used to wire together Java classes based on their interfaces or annotations. In a CDI-enabled application, you'd typically have beans (classes that are managed by CDI) that implement certain interfaces. When another bean needs an instance of one of those beans to do its job, you'd use @Inject to ask for it.
Here's a basic example:
public class MyBean {@Inject
private Logger logger;
public void doSomething() {
// Now we have access to the injected logger.
logger.info("Doing something...");
}
}
In this case, CDI would create an instance of Logger and inject it into MyBean, making its methods available for use within doSomething().
Another scenario is when you need a specific instance of a bean based on its capabilities. For example:
public class MyService {@Inject
private BeanA beanA;
@Inject
private BeanB beanB;
public void doSomething() {
// Now we have access to either beanA or beanB.
if (someCondition) {
beanA.doSomething();
} else {
beanB.doSomething();
}
}
}
Here, CDI would inject an instance of either BeanA or BeanB into MyService, depending on the condition.
In summary, @Inject in Java allows you to declaratively define dependencies between beans and have them resolved by a framework like CDI. This promotes loose coupling, flexibility, and testability within your application.
