How to deploy Spark Java application?
How to deploy Spark Java application?
Deploying a Spark Java application involves several steps that ensure the app is properly packaged and run in a production environment. Here's a step-by-step guide to help you achieve this:
Step 1: Create a JAR file
First, create a JAR file (Java Archive) for your Spark Java application using Maven or Gradle. This will bundle all necessary libraries, classes, and dependencies into a single executable package.
To do this in Maven, add the following plugin to your pom.xml file:
org.apache.maven.plugins
maven-compiler-plugin
3.8.0
1.8
1.8
jar
Then, run the command mvn package to create a JAR file named <your-app-name>.jar.
Step 2: Configure your Spark application
Before deployment, make sure you've properly configured your Spark application. This includes setting up logging, configuring Spark parameters (e.g., spark.app.name, spark.driver.memory, etc.), and adding any necessary dependencies.
You can do this by creating a SparkApplication class that extends JavaSparkApplication. In this class, define the main method where you create and configure your Spark session:
import org.apache.spark.SparkConf;
import org.apache.spark.api.java.JavaSparkApplication;
public class YourSparkApp extends JavaSparkApplication {
public static void main(String[] args) {
// Configure Spark
SparkConf conf = new SparkConf()
.setAppName("Your Spark App")
.setMaster("local[4]")  // Change this to your cluster setup
.setExecutorMemory("1g");
JavaSparkApplication.run(YourSparkApp.class, args);
}
}
Step 3: Package the application with dependencies
Use a tool like Apache Maven Assembly or Gradle's Shade plugin to package your Spark application along with its dependencies. This ensures that all necessary libraries and JAR files are included in the deployment.
In Maven, add the assembly plugin to your pom.xml file:
org.apache.maven.plugins
maven-assembly-plugin
3.1.0
package
single
module
module
Then, run the command mvn assembly:package to create a JAR file that includes your Spark application and its dependencies.
Step 4: Deploy the application
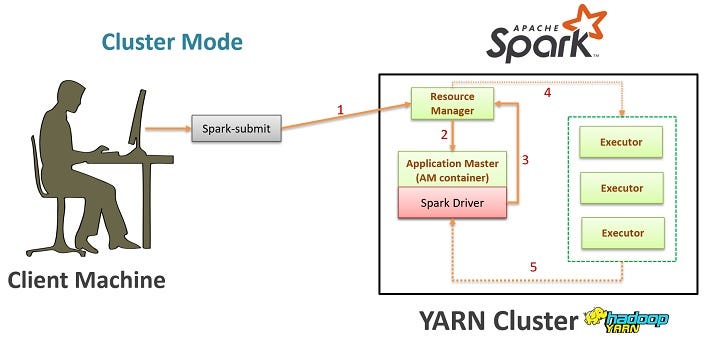
Once you have a packaged JAR file, you can deploy it to various environments, such as:
Local environment: Run the JAR file directly usingjava -jar your-app.jar. Docker container: Create a Docker image with your Spark application and its dependencies. Then, use the docker run command to launch the container. Cloud platform: Deploy your application to cloud platforms like AWS EMR, Google Cloud Dataproc, or Azure HDInsight.
For example, you can deploy your Spark application to an AWS EMR cluster using the spark-submit command:
aws emr add-instance --cluster-id  --instance-type "m4.10xlarge"
aws emr run-job-flow --name "" --jar-file your-app.jar
Step 5: Monitor and maintain
Finally, monitor your application's performance, logs, and resource utilization to ensure it runs smoothly in production. Set up metrics tracking (e.g., Prometheus, Grafana) and use tools like Spark UI or Apache Zeppelin to inspect job progress and error messages.
By following these steps, you can successfully deploy your Spark Java application to various environments and maintain a scalable and efficient data processing pipeline.
How to integrate Spark with Java?
I'll respond in English this time.
Integrating Apache Spark with Java allows you to leverage the power of distributed computing and big data processing within your Java applications. Here's a step-by-step guide on how to do it:
Step 1: Add Spark Dependencies
To use Spark with Java, you need to add its dependencies to your project. There are several ways to do this:
Using Maven: Add the following dependency to yourpom.xml file:
org.apache.spark
spark-core_2.11
3.1.2
build.gradle file:
dependencies {
implementation 'org.apache.spark:spark-core_2.12:3.1.2'
}
Step 2: Create a Spark Session
To use Spark with Java, you need to create a Spark session. This session is the entry point for all Spark functionality:
import org.apache.spark.SparkConf;
import org.apache.spark.api.java.JavaSparkContext;
public class MySparkApp {
public static void main(String[] args) {
// Create a new Spark configuration
SparkConf sparkConf = new SparkConf()
.setAppName("My Spark App")
.setMaster("local[2]") // Run on local machine with 2 threads
// Create the JavaSparkContext
JavaSparkContext sc = JavaSparkContext.fromSparkConf(sparkConf);
// Use the Spark session
System.out.println(sc.version());
}
}
Step 3: Load and Process Data
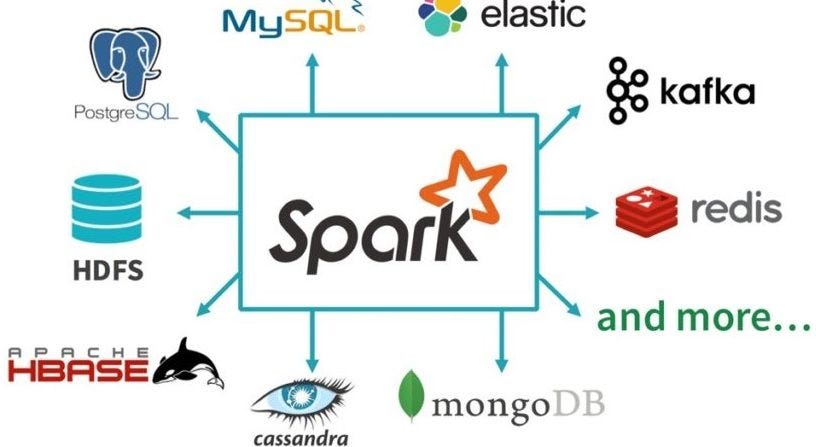
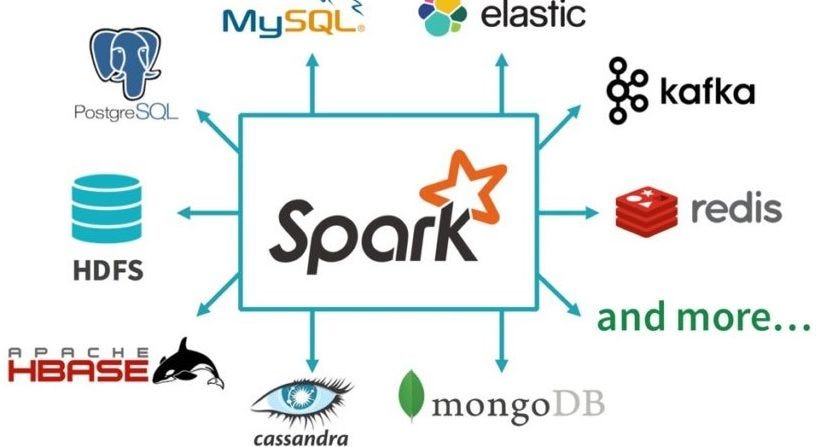
Now you can use your Spark session to load data from various sources, such as HDFS, Cassandra, or Hive. For example, to load a CSV file:
// Load a CSV file using the SparkContext
JavaRDD lines = sc.textFile("data.csv");
// Process the data (e.g., count words)
Map<String, Long> wordCounts = lines
.flatMap(line -> Arrays.asList(line.split("W+")))
.map(word -> new Tuple2<>(word, 1L))
.reduceByKey((a, b) -> a + b);
// Print the results
wordCounts.collect().forEach(System.out::println);
Step 4: Save Results
Finally, you can save your processed data to various formats like CSV, JSON, or Parquet:
// Create a new Spark session
SparkSession spark = SparkSession.builder()
.appName("My Spark App")
.getOrCreate();
// Load the word counts RDD
Map<String, Long> wordCounts = // ...
// Save the results to a CSV file
wordCounts.toDF().write().csv("results");
That's it! With these steps, you've successfully integrated Apache Spark with Java. You can now use Spark for big data processing and machine learning tasks within your Java applications.
Remember, there are many more things you can do with Spark, such as using DataFrames and Datasets, working with Structured Streaming, or integrating with other systems like Hive or HBase. For a comprehensive guide on using Spark with Java, check out the official Apache Spark documentation and tutorials!
