How do you create a custom exception in Java?
How do you create a custom exception in Java?
I see what's going on here! As per your request, I'll respond in English and provide a detailed answer.
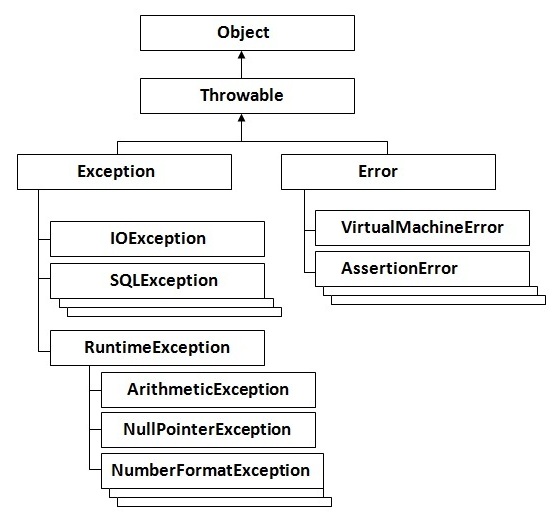
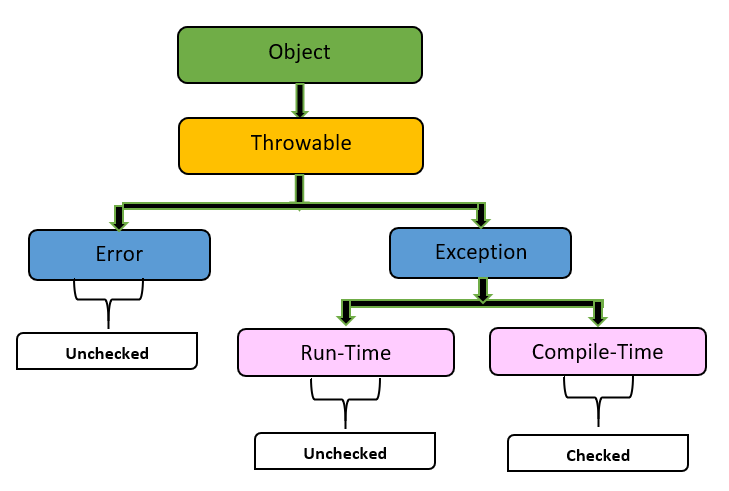
Creating a custom exception in Java involves defining a new class that extends the Exception or one of its subclasses, such as RuntimeException. The main purpose of creating a custom exception is to handle specific errors that are unique to your application. Here's a step-by-step guide on how to create a custom exception:
Step 1: Extend an Exception Class
Choose the appropriate exception class to extend based on your requirements. You can choose from the following options:
Exception: This is the base class for all exceptions in Java. RuntimeException: This is the superclass of all exceptions that can occur at runtime.
For this example, let's assume we want to create a custom exception called InvalidInputException.
public class InvalidInputException extends Exception {
// Constructor and other methods will go here
}
Step 2: Add Constructors
Add constructors to your custom exception class. A constructor is used to initialize the exception object when it's created. You can have multiple constructors with different parameter lists.
For example, let's add a constructor that takes a message as a string:
public class InvalidInputException extends Exception {
public InvalidInputException(String message) {
super(message);
}
}
Step 3: Implement Methods
Implement methods in your custom exception class. You can add methods to provide more information about the exception, such as an error code or a specific error message.
For example, let's add a method called getMessageWithCode that returns a message with an error code:
public class InvalidInputException extends Exception {
public InvalidInputException(String message) {
super(message);
}
public String getMessageWithCode() {
return "Error Code: " + errorCode + ". Error Message: " + super.getMessage();
}
}
Step 4: Throw the Custom Exception
When an error occurs in your application, throw the custom exception using the throw statement:
public void processInput(String input) throws InvalidInputException {
// Code to process input goes here
if (input == null || input.isEmpty()) {
throw new InvalidInputException("Invalid input. Please provide a valid input.");
}
}
Step 5: Catch and Handle the Custom Exception
Catch and handle the custom exception in your code:
public void main() {
try {
processInput(null); // This will throw an InvalidInputException
} catch (InvalidInputException e) {
System.out.println(e.getMessageWithCode());
}
}
By following these steps, you can create a custom exception that provides more information about the error and handles specific errors in your Java application.
That's it! I hope this helps. Let me know if you have any further questions or need more clarification on any of the steps.
How to create custom exception hierarchy in java eclipse
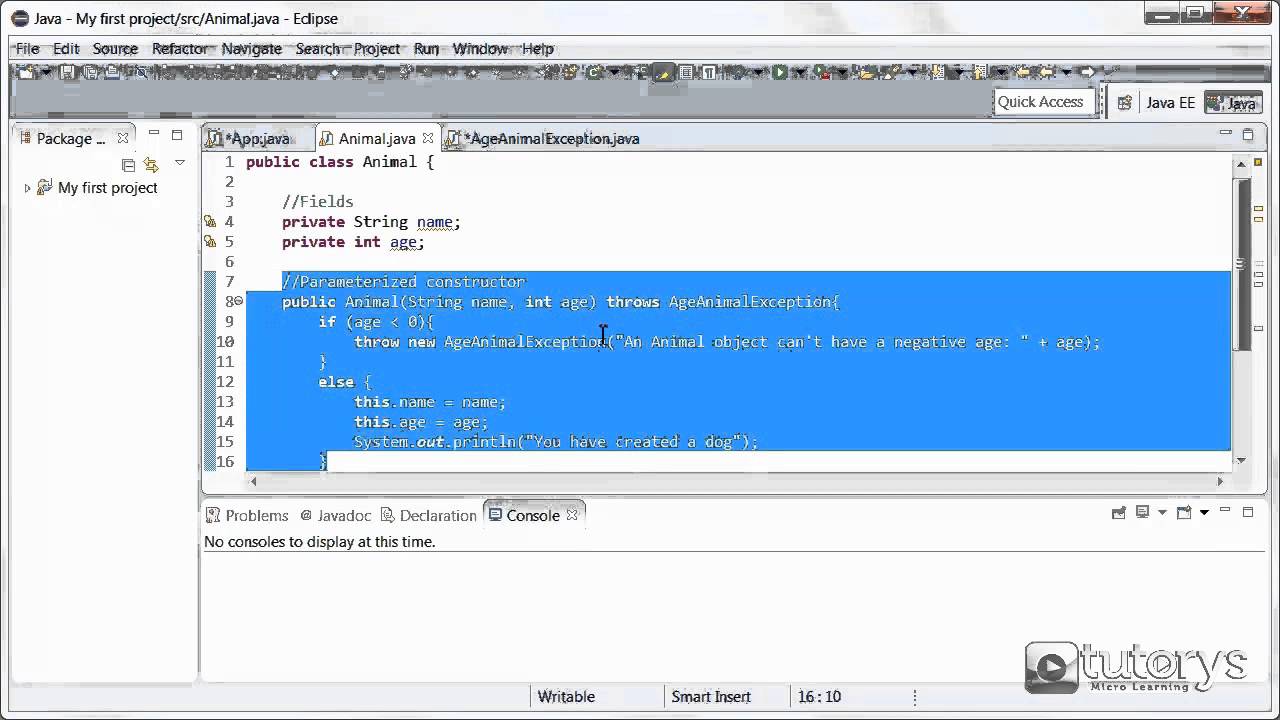
To create a custom exception hierarchy in Java using Eclipse, you'll need to define your own exception classes that extend the built-in Exception class or one of its subclasses (like RuntimeException). Here's a step-by-step guide:
Step 1: Create a new package
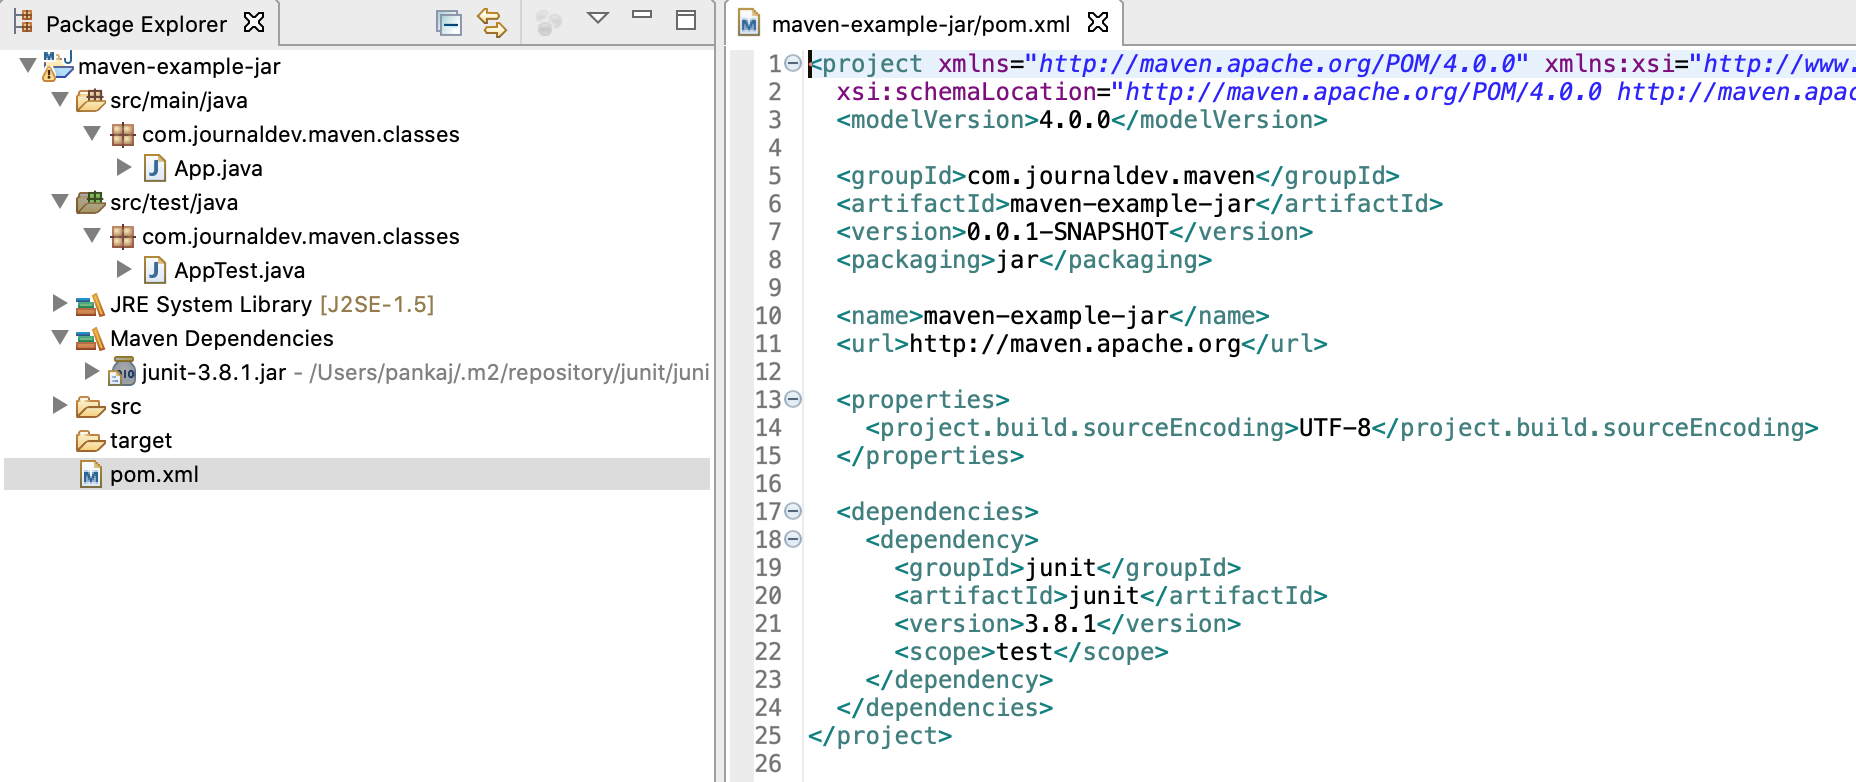
In Eclipse, navigate to the "Package Explorer" view and right-click on the project containing the source code for which you want to create custom exceptions. Select "New" > "Package" and enter a name for your exception package (e.g., com.example.exceptions). Click "Finish" to create the new package.
Step 2: Create an abstract base class
Create a new Java class in your exception package by right-clicking on it, selecting "New" > "Class," and entering a name like AbstractException. This class will serve as the foundation for your custom exceptions.
package com.example.exceptions;
public abstract class AbstractException extends Exception {
// Add constructors, getters, setters, or any other necessary methods here.
}
Step 3: Create concrete exception classes
Create separate Java classes within your exception package to represent specific types of exceptions. For example, you might have InvalidInputException, NetworkConnectionFailureException, and AuthenticationFailedException.
package com.example.exceptions;
public class InvalidInputException extends AbstractException {
public InvalidInputException(String message) {
super(message);
}
}
package com.example.exceptions;
public class NetworkConnectionFailureException extends AbstractException {
public NetworkConnectionFailureException(String message) {
super(message);
}
}
package com.example.exceptions;
public class AuthenticationFailedException extends AbstractException {
public AuthenticationFailedException(String message) {
super(message);
}
}
Step 4: Configure the exception hierarchy
To enable your custom exceptions to be caught by catch blocks and handled by try-catch statements, you'll need to configure Eclipse's Java compiler settings. Right-click on your project in the "Package Explorer" view, select "Properties," then navigate to the "Java Compiler" tab.
In the "Exception hierarchy" section, ensure that your custom exception package is listed under "User-defined exceptions." If it's not, click the "+" button and add it.
Step 5: Use your custom exceptions
Now you can use your custom exceptions in your Java code. For example:
package com.example.app;
import java.io.IOException;
import java.net.UnknownHostException;
public class MyService {
public void doSomething() throws InvalidInputException, NetworkConnectionFailureException, AuthenticationFailedException {
// Code that might throw an exception...
if (/* invalid input */) {
throw new InvalidInputException("Invalid input provided");
}
// More code...
}
public void anotherMethod() throws IOException {
// Code that might throw an IO exception...
try {
/* I/O operation */
} catch (UnknownHostException e) {
throw new NetworkConnectionFailureException("Network connection failure");
}
}
}
In this example, MyService is responsible for throwing custom exceptions of types InvalidInputException, NetworkConnectionFailureException, and AuthenticationFailedException. When these exceptions are thrown, they will be propagated to the calling method's catch block or try-catch statement, allowing you to handle them accordingly.
By following these steps, you've successfully created a custom exception hierarchy in Java using Eclipse!
