How do i add mockito to my java project eclipse
How do i add mockito to my java project eclipse
Here is the step-by-step guide on how to add Mockito to your Java project in Eclipse:
Step 1: Install Eclipse Marketplace Client
If you don't already have Eclipse Marketplace Client installed, you can download it from the official Eclipse website and install it by following these steps:
Go to the Eclipse download page (https://www.eclipse.org/downloads/) and select "Eclipse IDE for Java Developers" (or any other package that includes your preferred edition of Eclipse). Click on the link that says "Download Now" or "Install" and follow the prompts to install Eclipse. Once installed, launch Eclipse and click on "Help" in the top menu bar, then select "Eclipse Marketplace..." from the drop-down menu.Step 2: Search for Mockito in Eclipse Marketplace
In the Eclipse Marketplace window that appears, type "Mockito" into the search box at the top-right corner of the dialog. Press Enter to execute the search query.Step 3: Install Mockito Using Eclipse Marketplace
In the list of search results, you should see an entry for "Mockito - Mocking framework for Java" with a version number. Click on this entry to open its details page. On the Mockito details page, click the "Install" button (it might be labeled as "Update" if you already have Mockito installed).Step 4: Configure Your Eclipse Project Settings
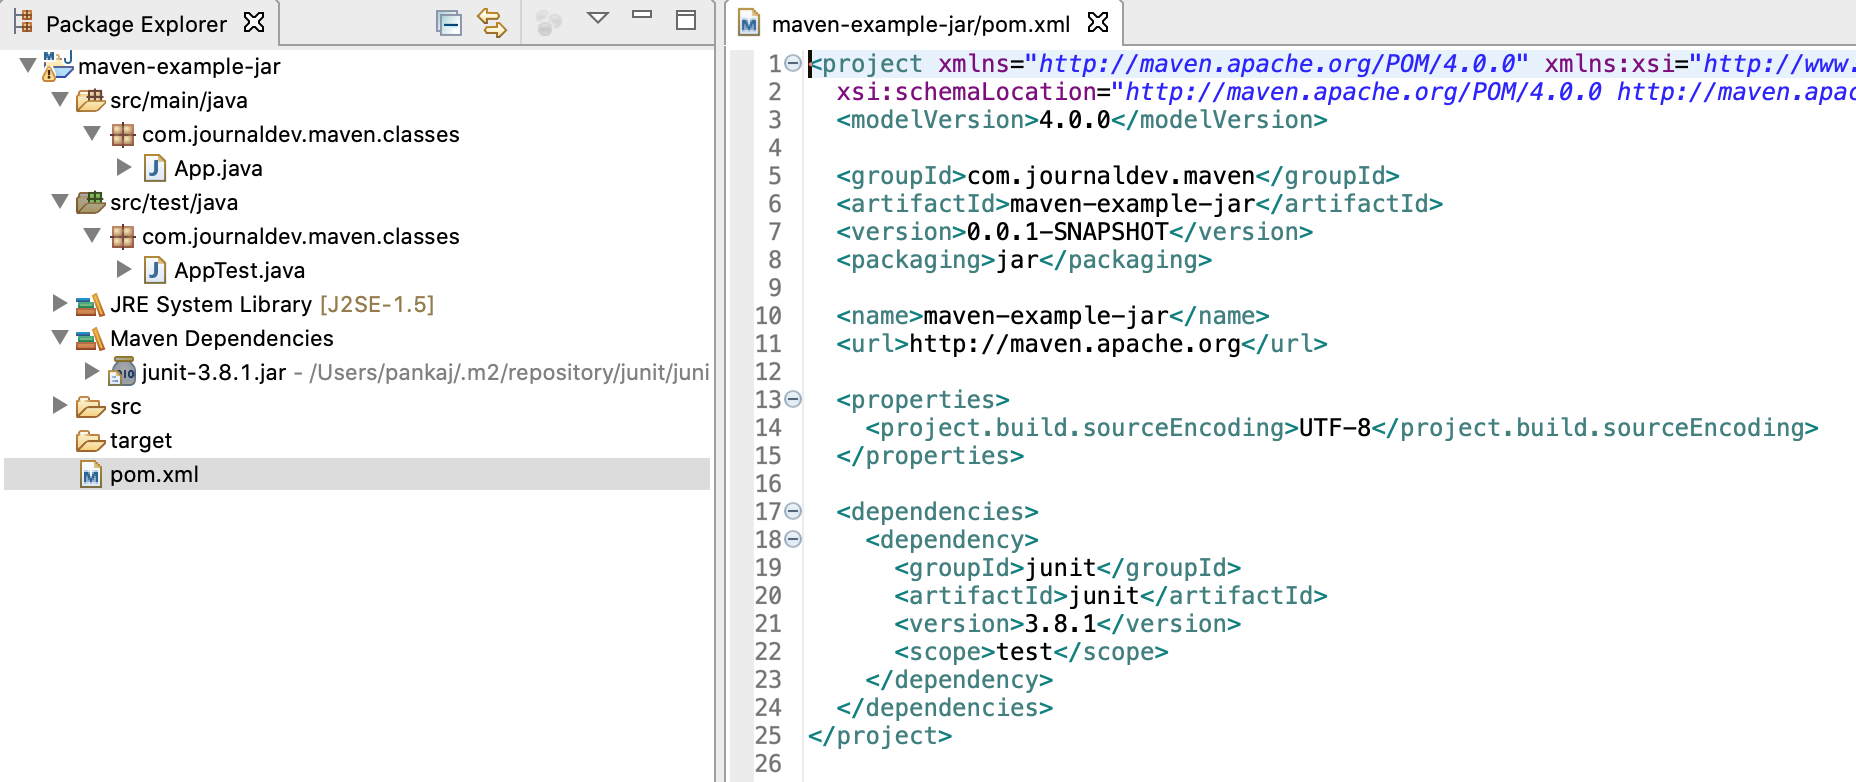
After installing Mockito, go to your project settings by right-clicking on your Java project in the Package Explorer and selecting "Properties". In the Properties window that appears, navigate to the "Libraries" tab. Click the "Add External JARs..." button. Navigate to the directory where you installed Mockito (it should be located undereclipse/plugins or eclipse/dropins) and select the mockito-core-x.x.x.jar file, where x.x.x is the version number of Mockito.
Step 5: Verify Mockito Installation
Go back to your Java project in the Package Explorer. Right-click on your Java project and select "New" > "Class". In the New Java Class wizard that appears, name your new class (e.g.,MyTestClass) and click Finish. Open the new class file (MyTestClass.java, for example) and try creating a simple test method using Mockito:
import org.mockito.Mockito;
import org.junit.Test;
public class MyTestClass {
@Test
public void myTestMethod() {
// Create a mock object using Mockito
MockedObject obj = Mockito.mock(MockedObject.class);
// Verify the behavior of your test method here...
Mockito.verify(obj).someMethodCall();
}
}
If you can write this code without any errors, it means you have successfully installed and configured Mockito in Eclipse!
That's it! You should now be able to use Mockito in your Java projects within Eclipse.
What is Mockito in Java

I'd be happy to explain Mockito in Java!
Mockito is a popular Java library used for unit testing and mocking. It was first released in 2007 and has since become one of the most widely-used testing libraries for Java developers.
What is Mocking?
In traditional unit testing, you would create an instance of the class under test and call its methods with specific inputs to verify that it behaves as expected. However, this approach can be tedious and time-consuming, especially when dealing with external dependencies, such as databases or web services. Mocking is a technique that allows you to isolate these dependencies by creating fake objects that mimic their behavior.
What is Mockito?
Mockito is a library that simplifies the process of mocking Java classes. It provides a simple and intuitive API for creating mock objects, which can be used in place of real objects during unit testing. Mockito supports both static and dynamic mocking, allowing you to create custom behaviors and expectations for your mock objects.
Key Features of Mockito
Easy Mock Creation: Mockito allows you to create mock objects with just a few lines of code. You can specify the behavior of your mock object by defining what method calls it should return. Powerful Verification: Mockito provides a range of verification methods that let you ensure your mock objects behave as expected. This includes methods for verifying method calls, arguments passed to those methods, and any exceptions thrown. Flexible Stubbing: With Mockito, you can customize the behavior of your mock objects by stubbing (or mocking) specific method calls. You can specify return values, throw exceptions, or even record method calls. Support for Complex Scenarios: Mockito makes it easy to handle complex testing scenarios by allowing you to create hierarchical mock objects and verifying method calls across multiple levels.Benefits of Using Mockito
Improved Testability: Mockito's mocking capabilities allow you to isolate dependencies and focus on the behavior of your class under test, making it easier to write unit tests. Faster Testing: By using mock objects instead of real dependencies, you can significantly speed up your testing process. Easier Maintenance: Mockito's flexible API makes it easy to update and maintain your tests as your codebase evolves.Common Use Cases for Mockito
Testing Database-Dependent Code: Mockito helps you isolate database interactions and test your code independently of the database. Testing Web Services: Mockito allows you to mock web services, making it easier to test your code's behavior without hitting external APIs. Testing Complex Logic: With Mockito, you can create custom behaviors for your mock objects, allowing you to test complex logic without dealing with real dependencies.In summary, Mockito is a powerful testing library that simplifies the process of mocking Java classes. Its easy-to-use API and robust features make it an essential tool for any Java developer looking to improve their unit testing game!
