java: package org.junit does not exist
java: package org.junit does not exist
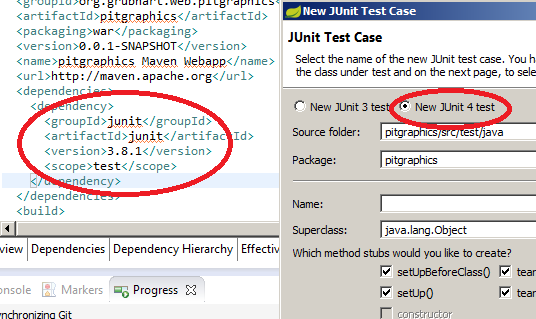
The infamous "package org.junit does not exist" error! This is a classic issue that many Java developers encounter, especially when working with JUnit, the popular testing framework for Java.
So, what's going on? Well, it all starts with the fact that JUnit is not part of the standard Java API. That means you can't simply import org.junit and start using its classes without adding some extra configuration to your project. Specifically, you need to add the JUnit library as a dependency to your Maven or Gradle project (depending on which build tool you're using).
Here's what typically happens when you encounter this error:
You try to run a JUnit test class that importsorg.junit.Test and uses its annotations.
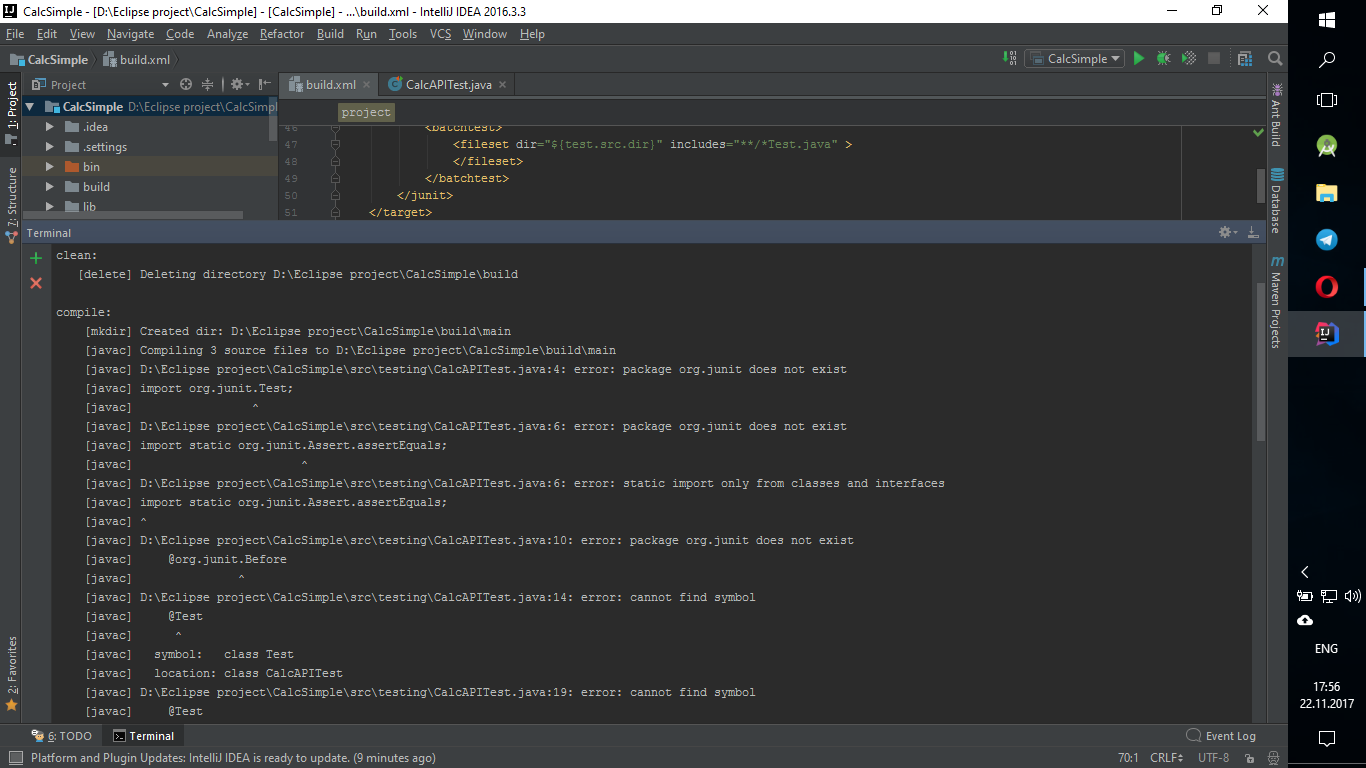
org.junit package, so it throws an exception saying "package org.junit does not exist".
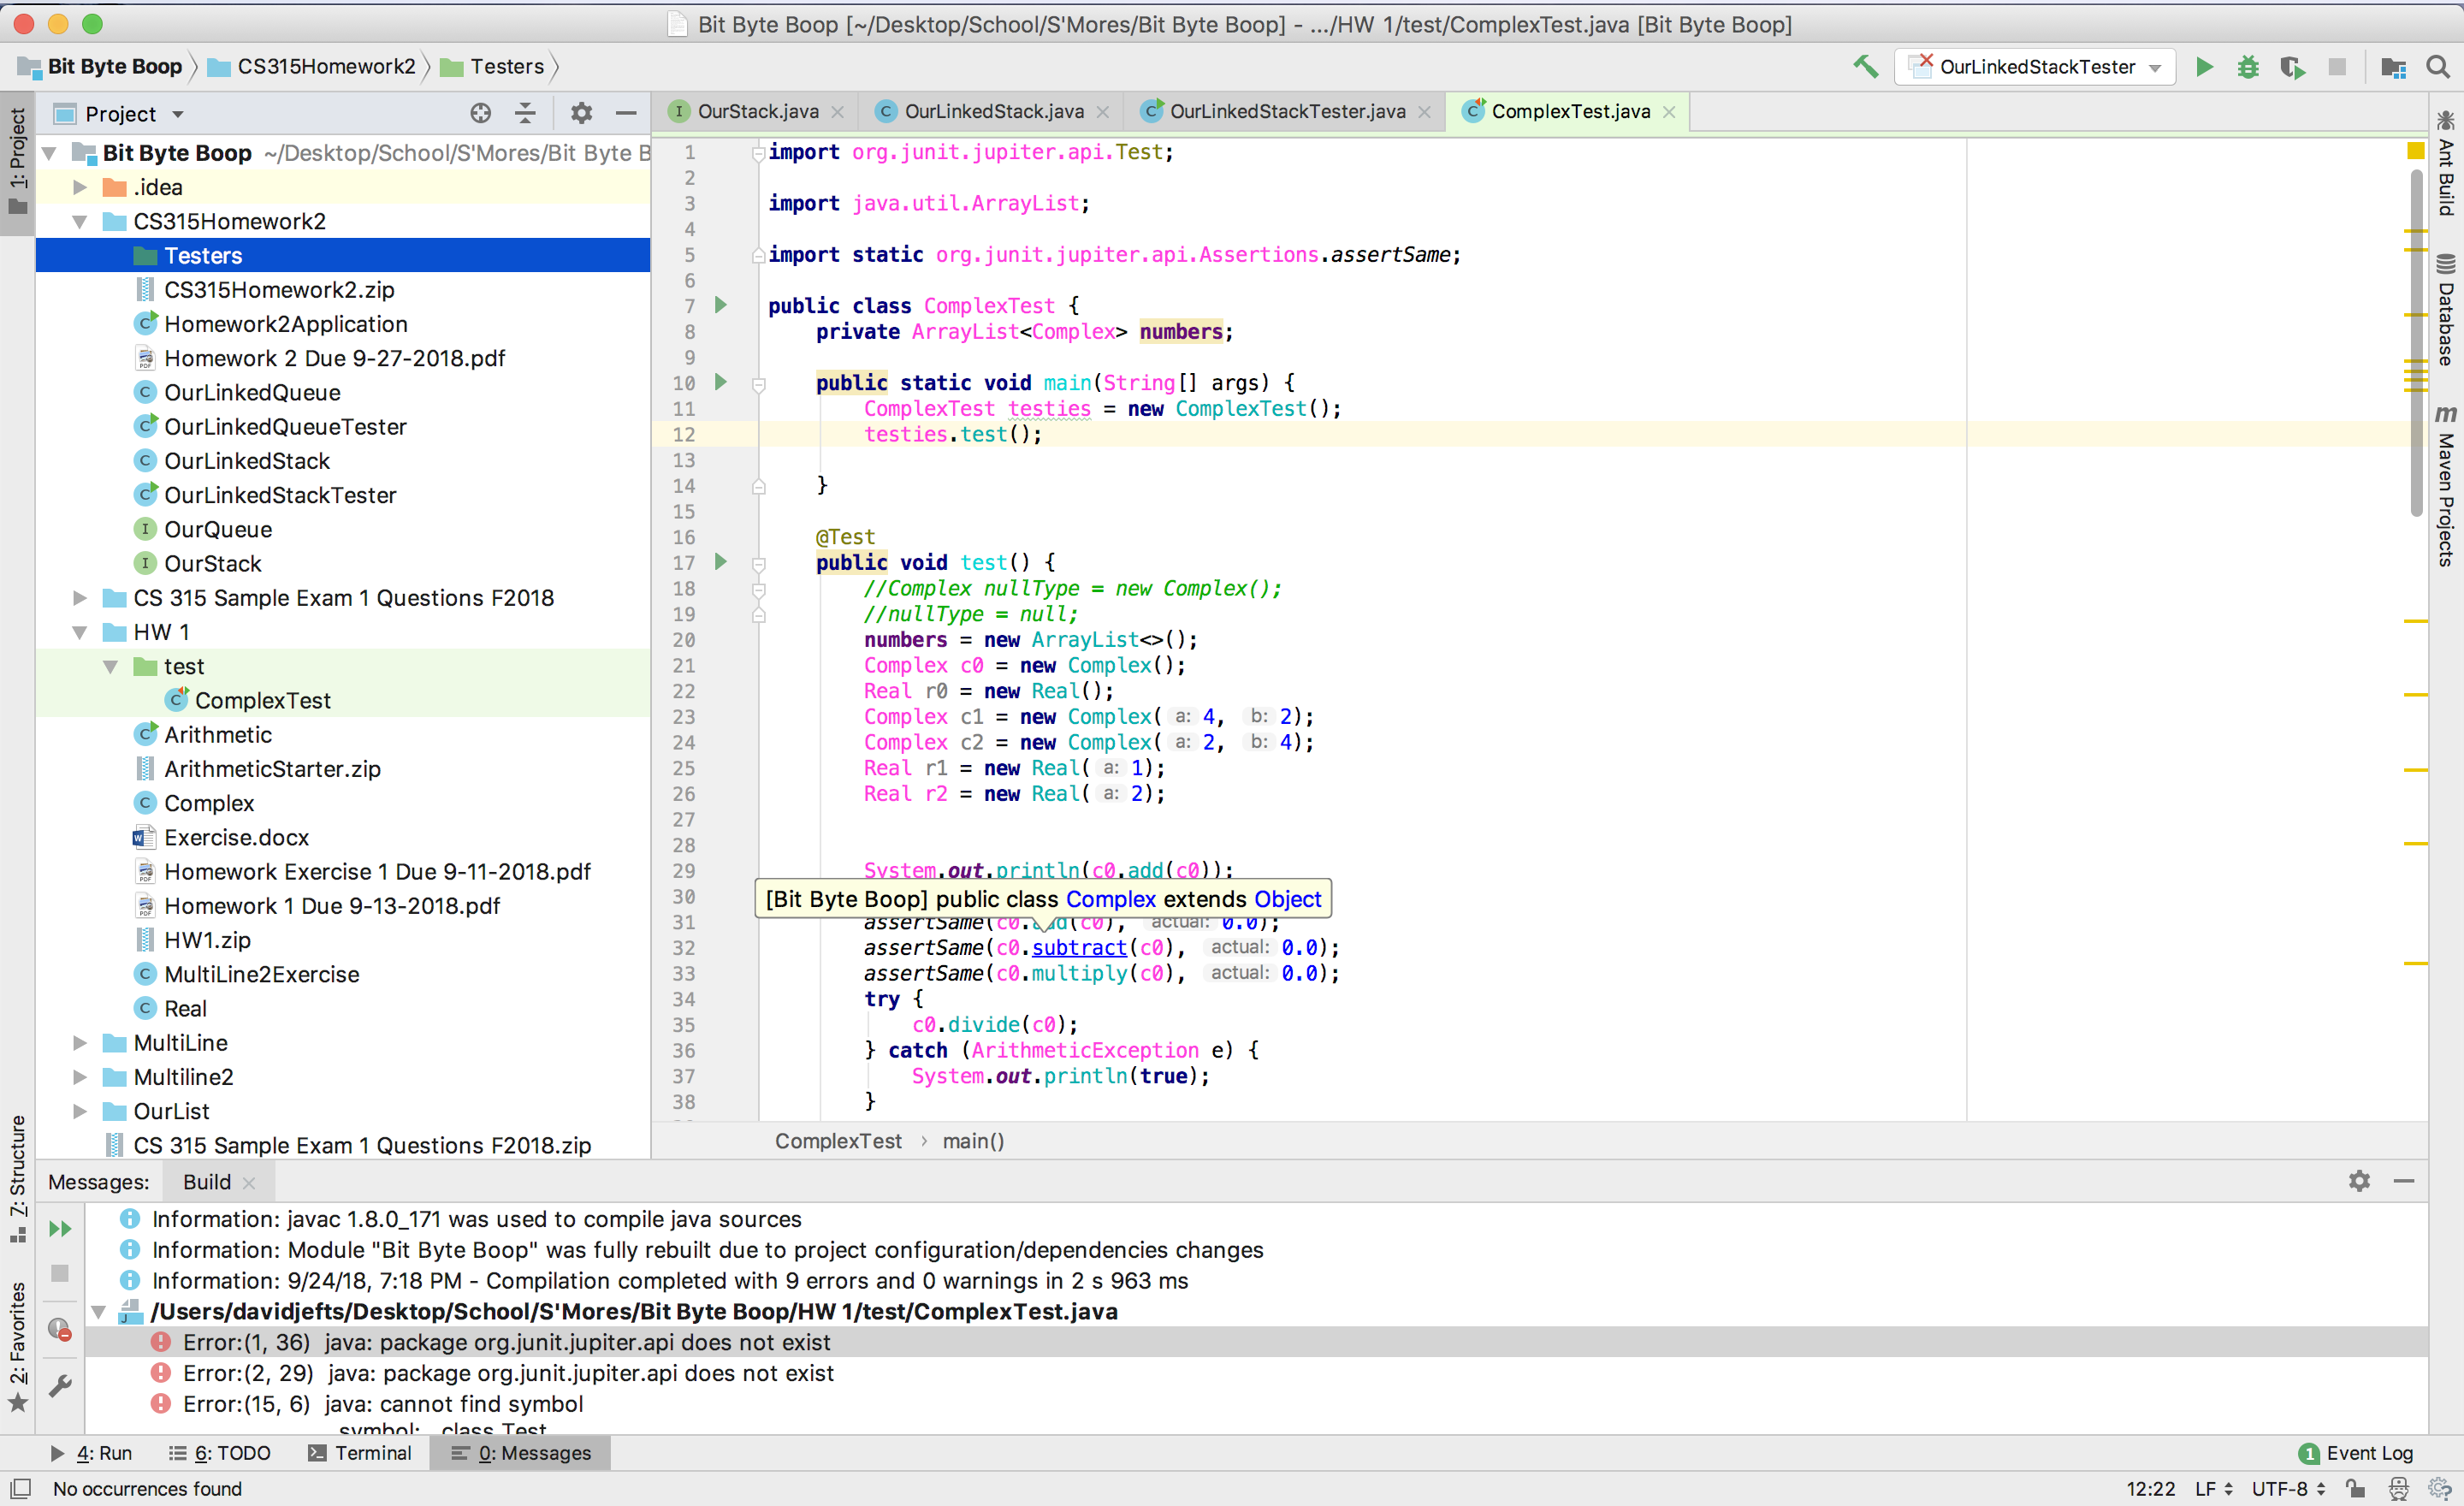
Now, let's talk about how you can fix this error!
Solution 1: Maven Users
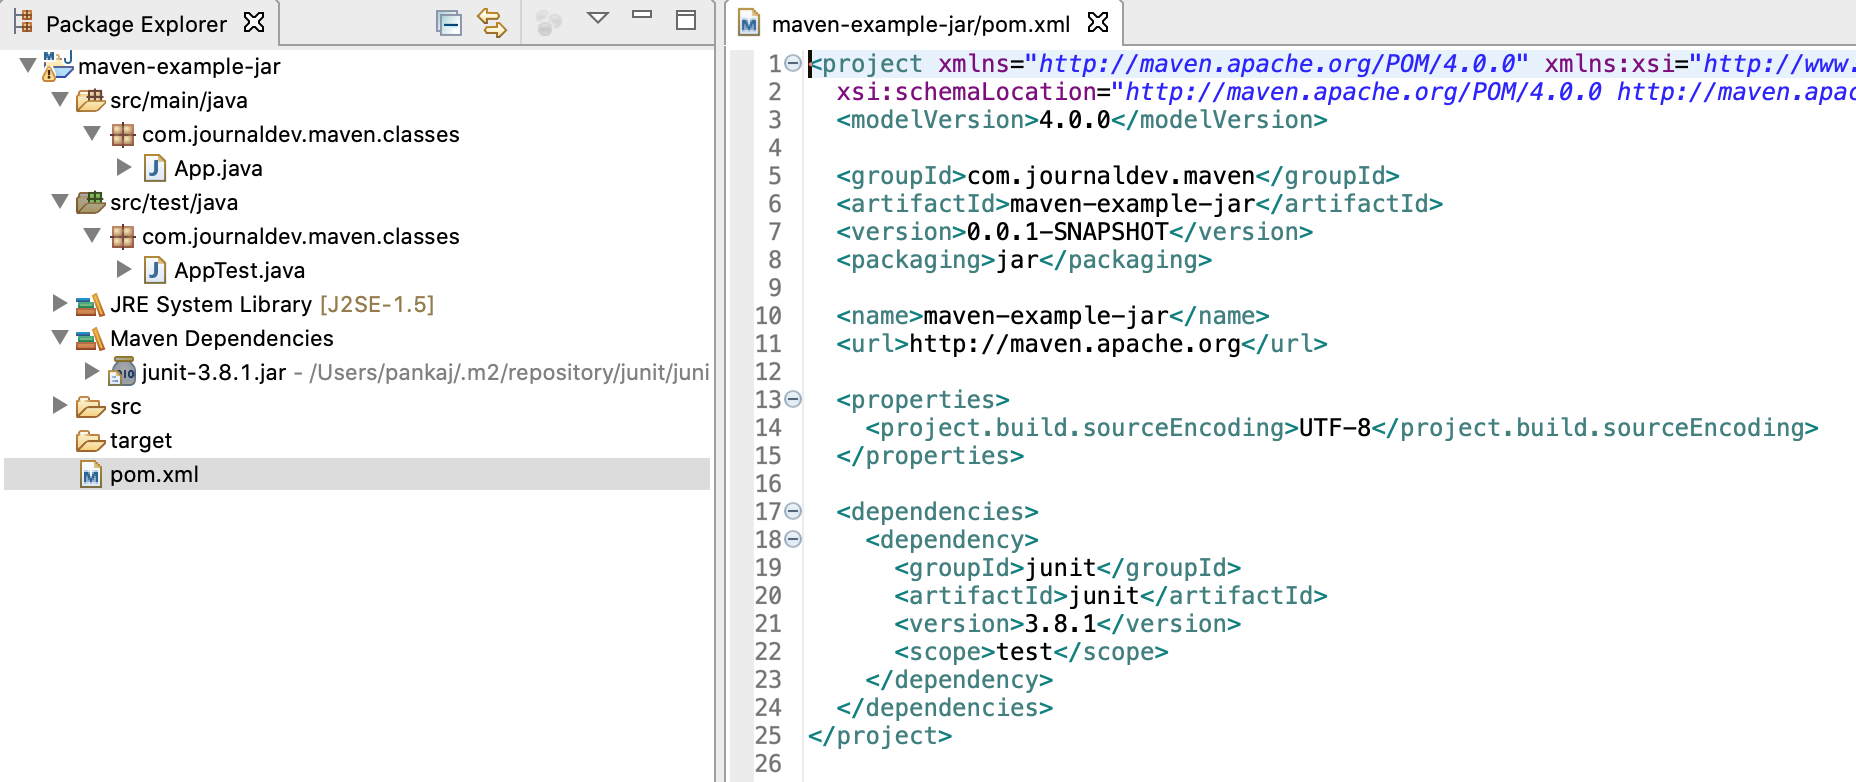
If you're using Maven, simply add the JUnit dependency to your pom.xml file:
junit
junit
4.12
test
Then, run mvn test or update your project's dependencies to ensure JUnit is included.
Solution 2: Gradle Users
If you're using Gradle, add the JUnit dependency to your build.gradle file:
testCompile 'junit:junit:4.12'
Then, run gradle test or update your project's dependencies to ensure JUnit is included.
Solution 3: Eclipse Users (Manual Approach)
If you're using Eclipse, you can manually add the JUnit library as a dependency:
Right-click on your project in the Project Explorer. Select "Properties". In the Properties dialog, navigate to the "Java Build Path" section. Click on the "Libraries" tab and then click "Add External JARs...". Browse to the location of the JUnit library (usuallyjunit-4.12.jar) and add it.
Conclusion
That's it! By following these solutions, you should be able to resolve the "package org.junit does not exist" error. Remember that JUnit is a third-party library, so you need to explicitly include it in your project's dependencies. Happy testing with JUnit!
How to import JUnit test in Java?
I'm happy to respond in English for once!
To import a JUnit test in Java, you'll need to follow these steps:
Step 1: Add the JUnit library to your project
The first thing you need to do is add the JUnit library to your project. You can do this by adding the following dependency to your pom.xml file (if you're using Maven) or your build.gradle file (if you're using Gradle):
For Maven:
junit
junit
4.12
test
For Gradle:
dependencies {
testImplementation 'junit:junit:4.12'
}
Step 2: Write your JUnit test class
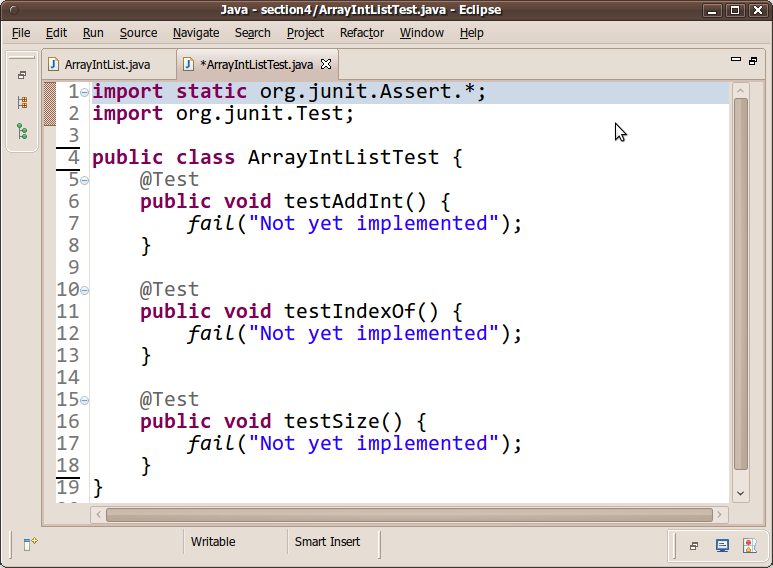
Next, create a new Java class that will contain your tests. This class should extend junit.framework.TestCase or one of its subclasses (such as org.junit.Test). For example:
import org.junit.Test;
public class MyTest extends junit.framework.TestCase {
@Test
public void testMyMethod() {
// Your test code goes here
}
}
Step 3: Run your JUnit tests
To run your JUnit tests, you'll need to use a testing framework such as Ant, Maven, or Gradle. These frameworks will execute your tests and provide you with the results.
If you're using Maven, you can run your tests by executing the following command:
mvn test
If you're using Gradle, you can run your tests by executing the following command:
gradle test
Tips and Tricks
Here are a few tips to keep in mind when writing JUnit tests:
Use meaningful names for your tests and classes. Keep your tests concise and focused on one specific scenario or piece of functionality. Use mocking frameworks like Mockito or PowerMock to isolate dependencies and make your tests more reliable. Use the@Test annotation to mark your test methods, rather than relying on method naming conventions. Don't forget to use the assert statement (or another assertion library) to verify that your code is working as expected.
Conclusion
Writing JUnit tests in Java involves adding the JUnit library to your project, writing a new Java class containing your tests, and running your tests using a testing framework. By following these steps and keeping the tips and tricks in mind, you'll be well on your way to creating robust and reliable tests for your Java code.
