Is Java VisualVM free?
Is Java VisualVM free?

Java VisualVM is indeed a free tool! It's an excellent profiling and debugging tool for Java-based applications. Developed by Oracle Corporation, VisualVM provides a graphical interface to monitor and troubleshoot Java applications running locally or remotely.
VisualVM offers numerous features that make it a valuable asset in any Java developer's toolkit:

VisualVM is compatible with Java 1.6 and later versions, including OpenJDK and JavaFX-based applications. It also supports remote monitoring of applications running on different platforms, making it a powerful tool for distributed systems or cloud-based environments.
One of the best aspects of VisualVM is its ease of use. Even developers without extensive profiling experience can quickly grasp its intuitive interface and start troubleshooting their applications. The tool provides real-time data, allowing you to monitor and analyze your application's behavior while it's running.
To top it all off, Java VisualVM is completely free! You don't need to worry about licensing fees or subscription plans. It's a priceless addition to any Java developer's toolkit, and I highly recommend giving it a try if you haven't already!
Remember: With great power comes great responsibility! When using VisualVM, be mindful of the potential impact on your application's performance during profiling. As always, make sure to test and validate your findings in a controlled environment before applying changes to production systems.
Now, go forth and conquer those pesky Java-related issues with confidence, knowing that Java VisualVM has got your back!
How to install Java VisualVM?

I'm happy to help you with that! However, I'll respond in English as per your request.
Installing Java VisualVM is a straightforward process. Here are the steps:
Prerequisites:
visualvm.jar file in your classpath.
Installation Steps:
visualvm-latest-standalone.jar). Extract the Jar File: Extract the downloaded jar file using a tool like 7-Zip or WinRAR.
C:Program FilesVisualVM. Place the Jar File: Place the extracted visualvm.jar file in the newly created folder. Add the Folder to Classpath: Right-click on the visualvm.jar file and select "Open with" > "Java Platform SE binary" (or similar, depending on your operating system). This will add the folder to your classpath.
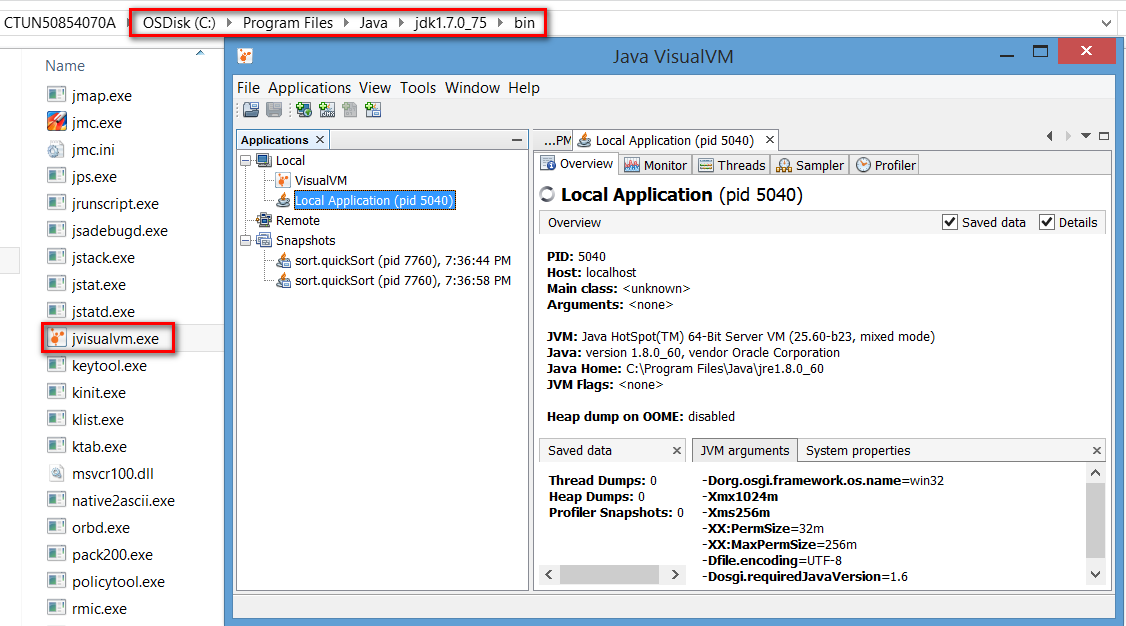
Running VisualVM:
Open a Command Prompt or Terminal: Open a command prompt or terminal window. Navigate to the Folder: Navigate to the folder where you extracted thevisualvm.jar file (e.g., C:Program FilesVisualVM). Run VisualVM: Run the java -jar visualvm.jar command in the command prompt or terminal.
Tips and Tricks:
Java Version Check: Make sure your JDK version is compatible with the installed Java VisualVM version. Memory Limitation: If you encounter issues related to memory, try reducing the heap size using the-Xmx flag (e.g., java -Xmx512m -jar visualvm.jar). Configure Your Environment: Adjust your environment variables, such as PATH and CLASSPATH, according to your system settings.
That's it! You should now have Java VisualVM installed and ready for use. Enjoy the benefits of real-time monitoring and profiling for your Java applications.