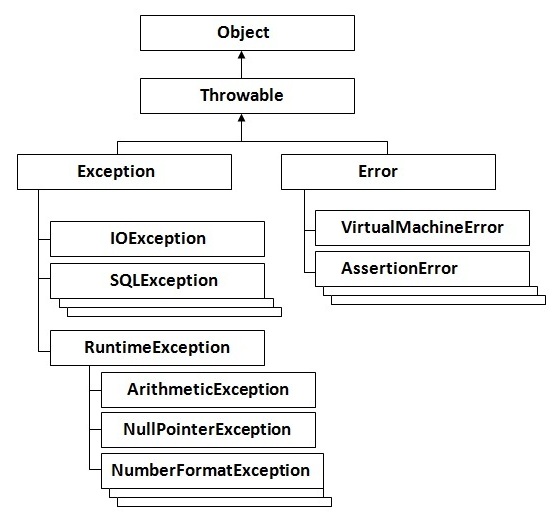
How to install Java in Visual Studio IDE?
How to install Java in Visual Studio IDE?
Here's a step-by-step guide on how to install Java in Visual Studio (VS) IDE:
Prerequisites:
You need to have Visual Studio (VS) installed on your machine. Make sure you have the correct version of VS, such as Community Edition or Enterprise.Installing Java Development Kit (JDK)
Download the latest JDK from the official Oracle website: https://www.oracle.com/java/technologies/javase-jdk14-downloads.html. Click on the "Windows x64" or "Windows x86" link, depending on your system architecture. Save the JDK installer (jdk-.exe) to a location of your choice.Installing Java Extension for Visual Studio
Open Visual Studio and navigate to the Extensions panel by clicking on "Extensions" in the Start menu or by searching for it in the search bar. In the Extensions panel, click on the "Manage extensions" button. Search for "Java" in the Marketplace search bar. Click on the "Java" extension (should be labeled as "Microsoft Visual Studio Java Tools") and then click on the "Install" button.Configuring Visual Studio for Java Development
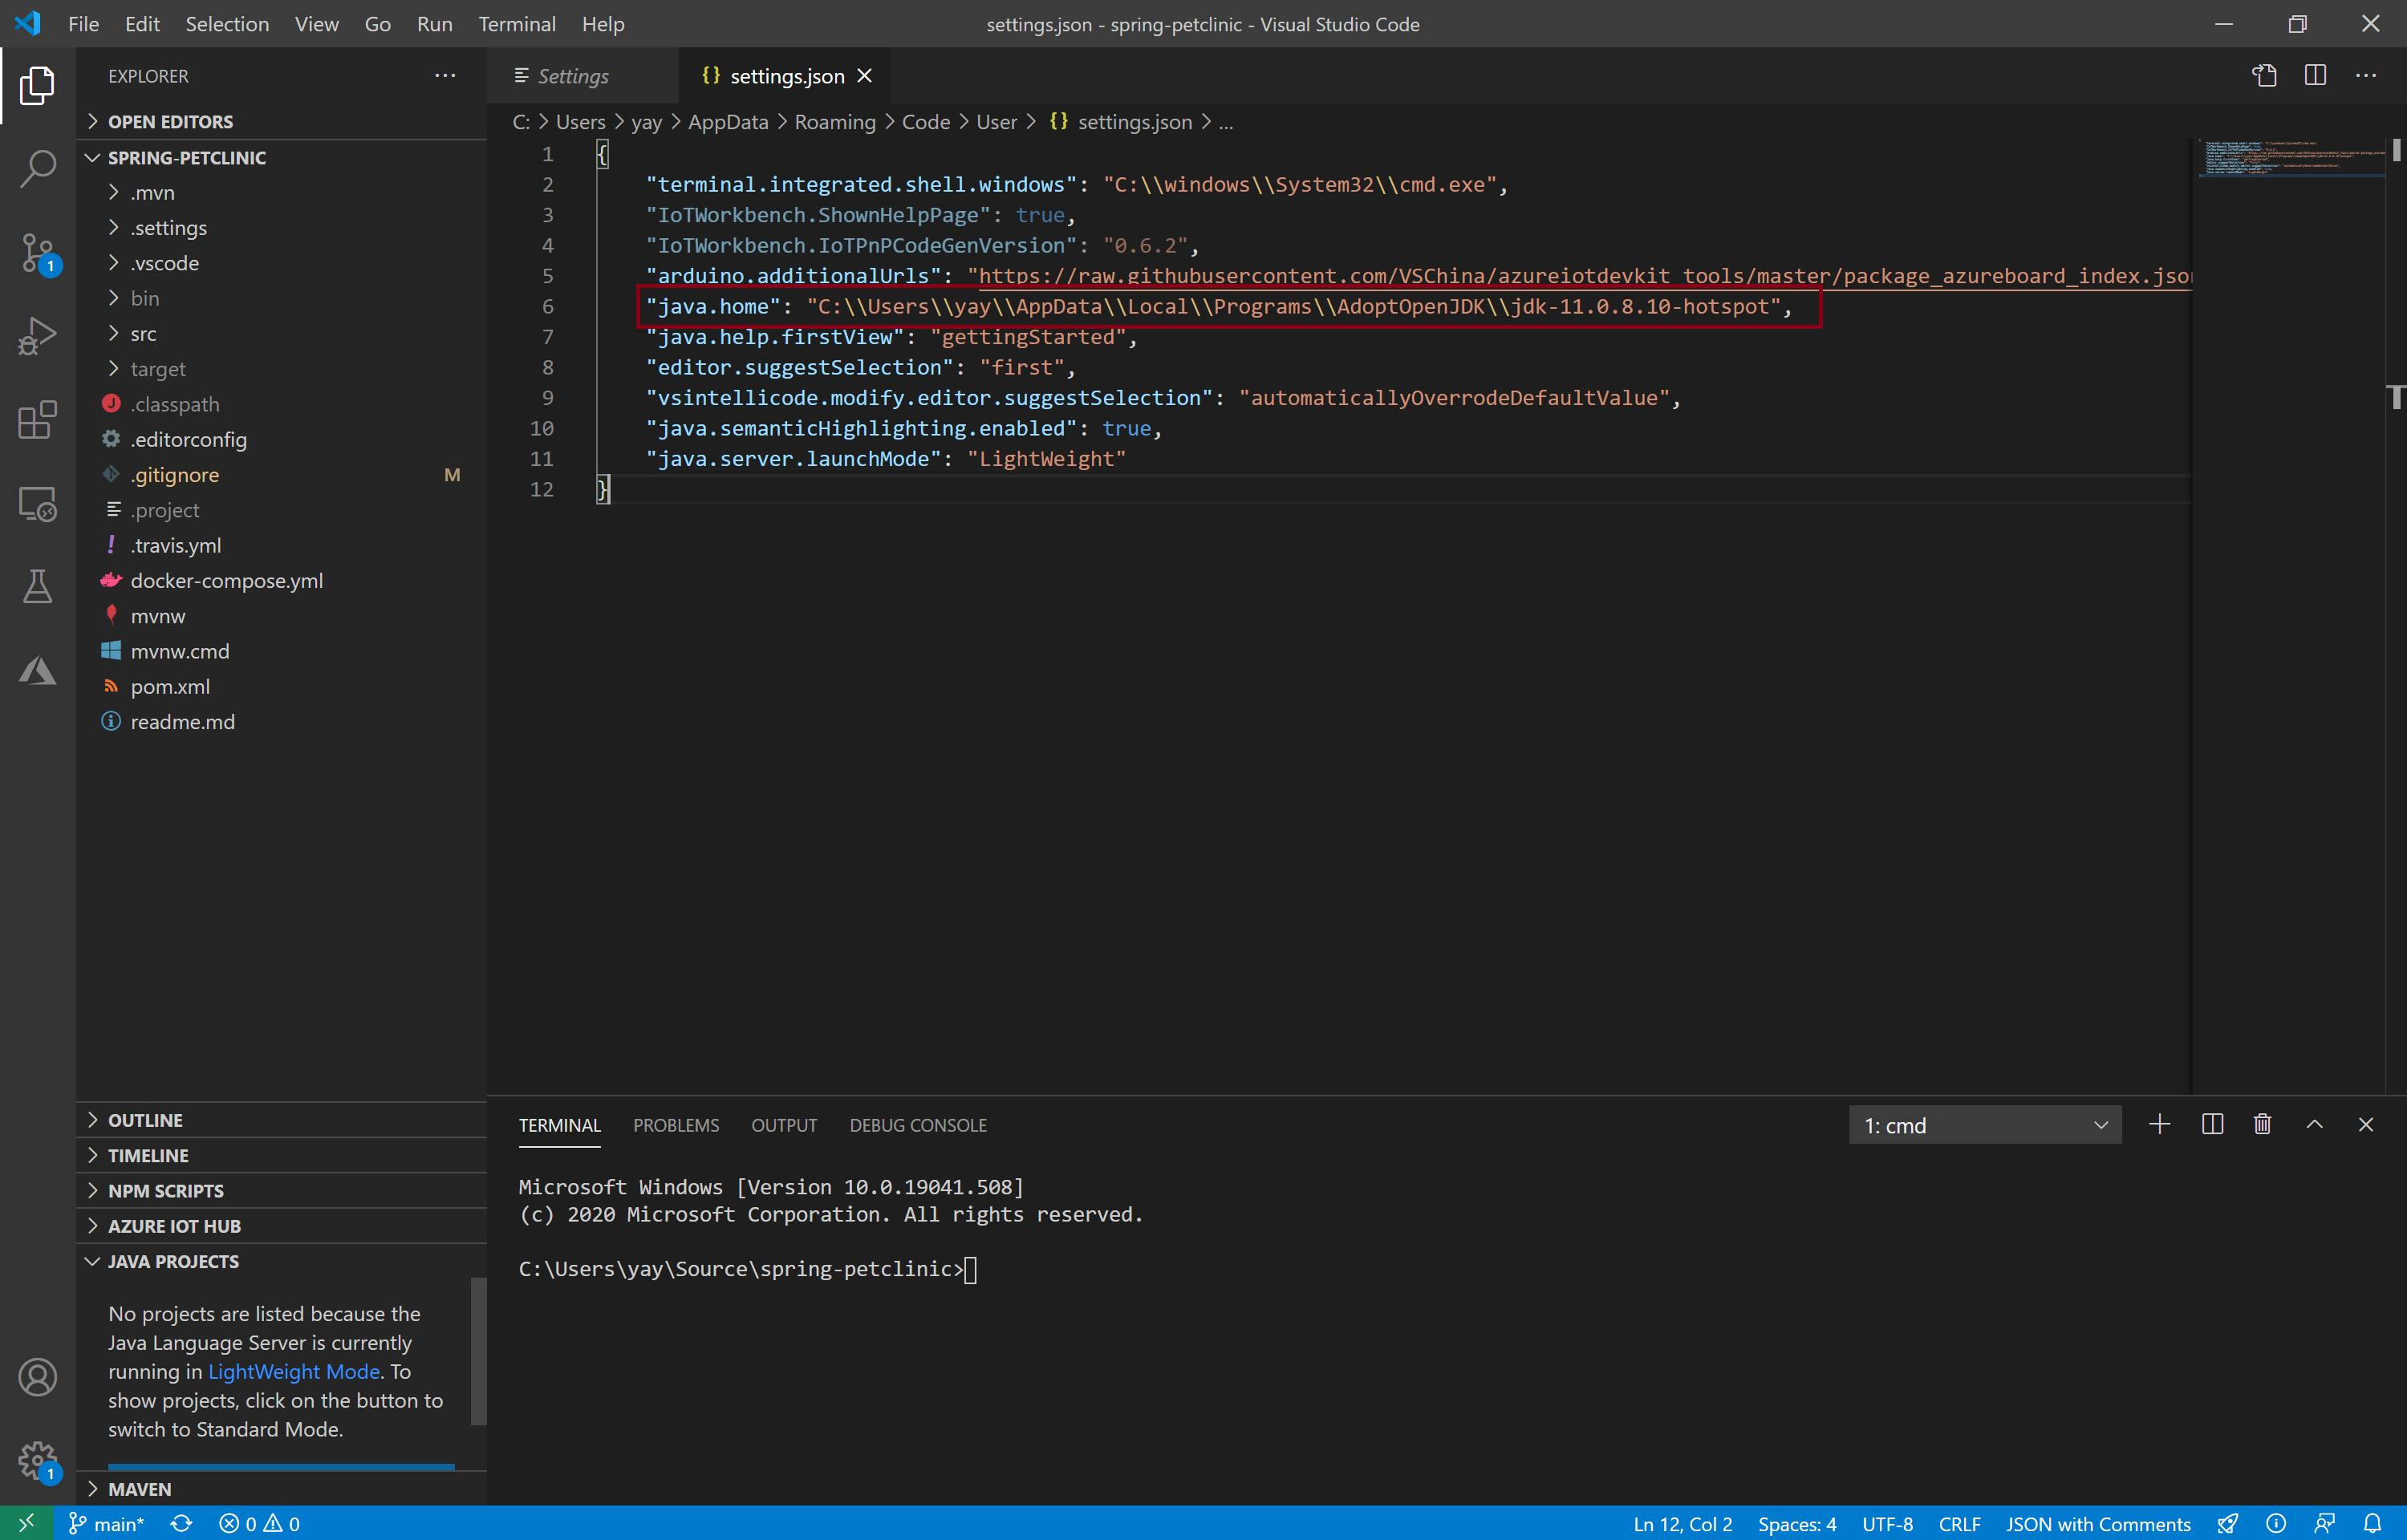
Once the installation is complete, restart your VS IDE. Open the "Tools" menu in VS by clicking on the gear icon or pressing Ctrl+Shift+T. In the "Tools" menu, navigate to the "Java" option and click on it. This will open the Java settings panel.Setting up Your Project
To create a new Java project, go to the "File" menu and select "New" > "Project..." or press Ctrl+Shift+N. In the New Project dialog box, expand the "Java" node in the project types section. Choose the type of project you want to create (e.g., Console App, Web App, etc.). Name your project and click on the "Create" button.Writing Your First Java Code
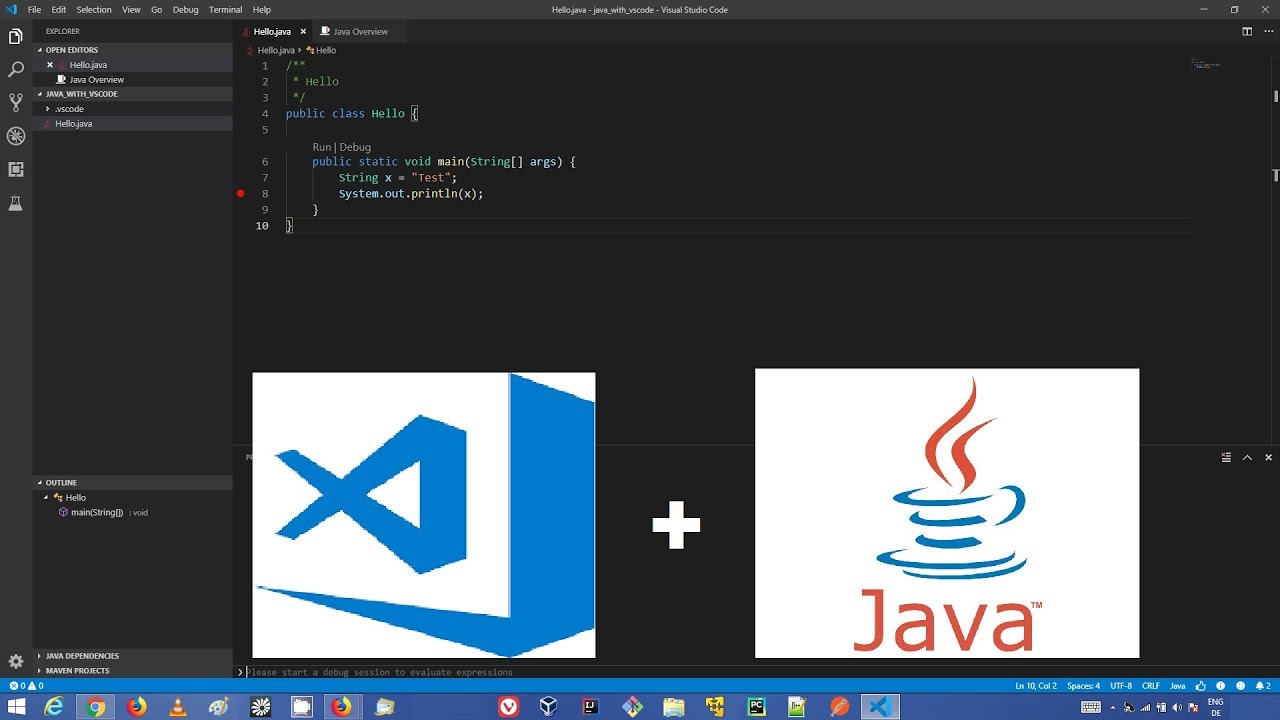
Open your newly created project by double-clicking on its solution file (e.g., MyJavaProject.sln) or by selecting it from the Recent Projects list. Create a new Java class by right-clicking on the project folder in the Solution Explorer and selecting "Add" > "Class...". Name your class (e.g., HelloJava) and click on the "Add" button. In the newly created class, write your first Java code:public class HelloJava {
public static void main(String[] args) {
System.out.println("Hello, World!");
}
}
Congratulations! You have successfully installed and configured Java in Visual Studio!
Remember to regularly update your JDK and VS extensions to ensure you have access to the latest features and bug fixes.
Is VS Code good for Java Spring Boot?

I'll respond in English as per your request.
The eternal question: is Visual Studio Code (VS Code) a good choice for building and developing Java Spring Boot applications? Well, let me give you a balanced answer that highlights the pros and cons of using VS Code with Java Spring Boot.
Pros:
Ease of Use: VS Code has gained popularity for its ease of use, intuitive interface, and flexibility. If you're familiar with the IDE landscape, you'll feel right at home in VS Code. Extensive Extension Library: The VS Code extension library is vast, with many extensions available for Java development, including Spring Boot. These extensions provide features like code completion, debugging, and testing. Cross-Platform Compatibility: VS Code is available on Windows, macOS, and Linux platforms, making it a great choice for developers who work across different environments. Lightweight and Fast: Compared to other Java IDEs, VS Code is relatively lightweight, which means faster startup times and less system resource consumption.Cons:
Java Support Not Out-of-the-Box: While there are many extensions available for Java development in VS Code, the tool itself doesn't come with built-in support for Java or Spring Boot. You'll need to install additional extensions. Debugging Complexity: Debugging Java applications in VS Code can be challenging due to the lack of native Java debugging support. You may need to use external tools like JRebel or Eclipse to facilitate debugging. Limited Project Management: VS Code's project management capabilities are limited compared to other IDEs, which might make it more difficult to manage large projects.Conclusion:
While VS Code isn't the first choice for many Java developers (Eclipse and IntelliJ IDEA being popular alternatives), it can still be a viable option for building and developing Spring Boot applications. If you're already familiar with the VS Code environment, you might appreciate its ease of use, flexibility, and lightweight nature.
To make the most out of using VS Code for Java Spring Boot development:
Install essential extensions like Debugger for Java (by Microsoft) or Java Extension Pack. Familiarize yourself with VS Code's Java-specific features and settings. Be prepared to use external tools for debugging, if needed.In conclusion, VS Code is a viable option for developing Java Spring Boot applications, offering an ease-of-use experience, extensive extension library, cross-platform compatibility, and lightweight performance. However, be aware of the limitations in terms of project management and native Java debugging support.