Import junit Java vscode
Import junit Java vscode
Here are the steps to import JUnit in Java using VSCode:
Step 1: Open your project directory in VSCode by clicking "File" -> "Open Folder..." and selecting the directory that contains your Java source files.
Step 2: In the VSCode terminal, run the command mvn (if you're using Maven) or gradle init --type java-library (if you're using Gradle). This will create a basic build configuration file for your project.
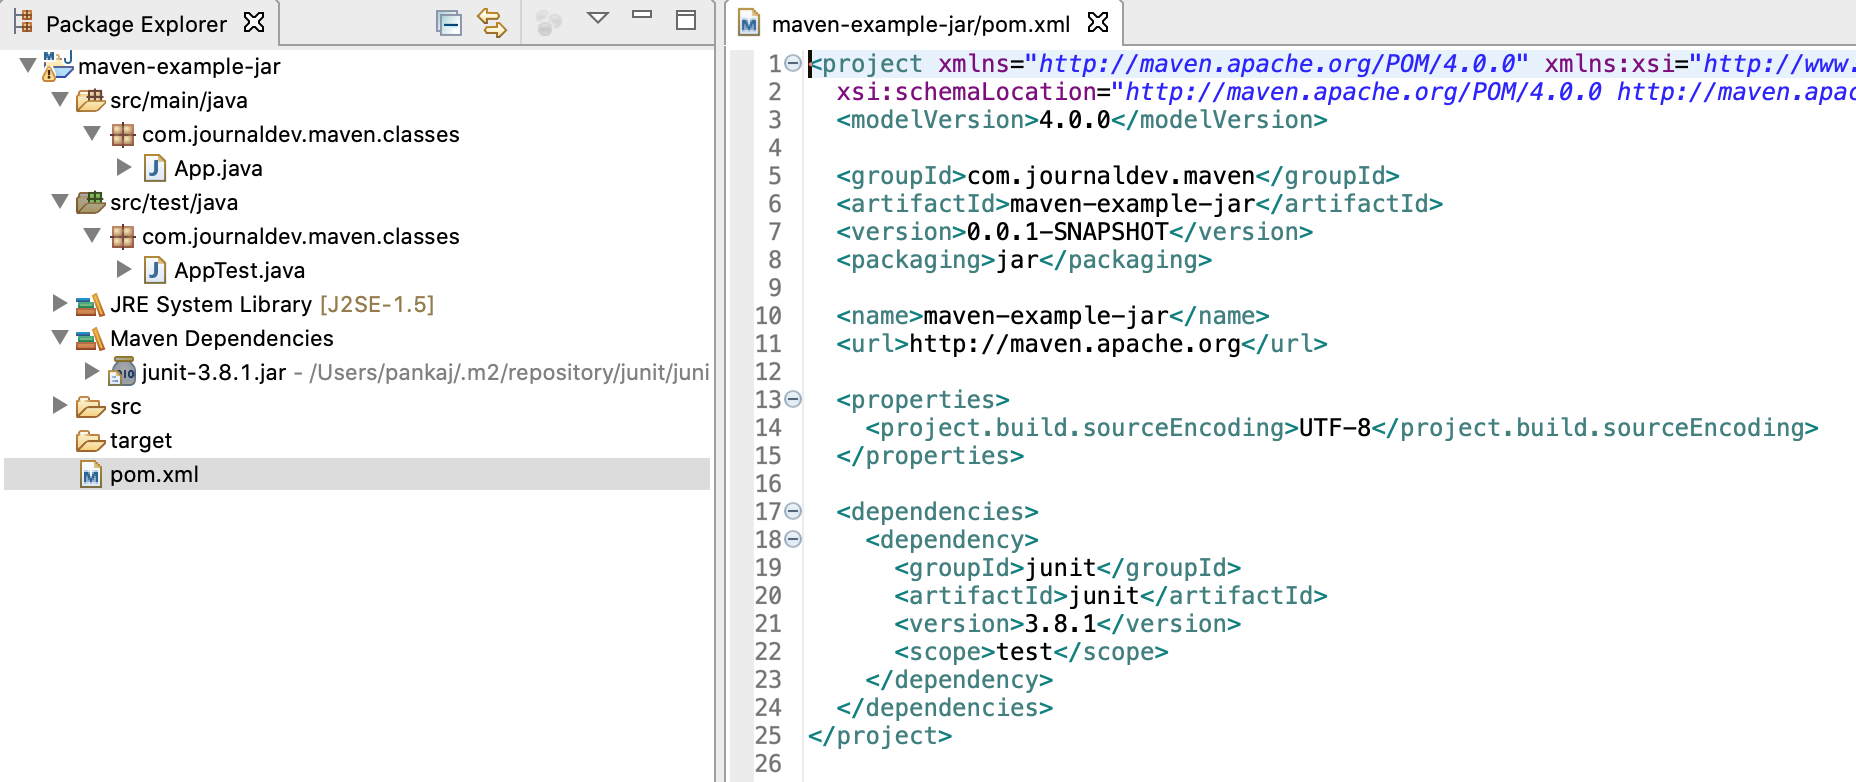
Step 3: Open the pom.xml (for Maven) or build.gradle (for Gradle) file in VSCode. Add the following dependency to the <dependencies> section of the file:
junit
junit
4.13.1
test
dependencies {
testImplementation 'junit:junit:4.13.1'
}
Step 4: Save the pom.xml (for Maven) or build.gradle (for Gradle) file.
Step 5: Create a new Java class for your JUnit tests by clicking "File" -> "New File..." and selecting "Java Class". Name your class e.g., MyTest.
Step 6: In the MyTest.java file, add a new test method that uses one or more JUnit assertions. For example:
import org.junit.Test;
public class MyTest {
@Test
public void testMethod() {
assertEquals(2, 1 + 1);
}
}
Step 7: Run your tests by clicking "Run" -> "Java Test" in VSCode or by running the command mvn test (for Maven) or gradle test (for Gradle).
You can also use the JUnit plugin for VSCode to run and debug your tests. To install the plugin, open the Extensions view in VSCode by clicking "View" -> "Extensions", search for "JUnit", and click the "Install" button.
This is the basic steps to import JUnit in Java using VSCode. I hope it helps!
How to install Java JUnit?

Installing and setting up JUnit can seem daunting at first, but it's actually a straightforward process. Here's a step-by-step guide on how to install and use JUnit:
Prerequisites:
Java Development Kit (JDK): You need to have Java installed on your computer. You can download the latest JDK from Oracle's official website.

Installing JUnit:
Using Maven: If you're using Maven, the most popular build tool for Java projects, you can add JUnit to your project'spom.xml file by adding the following dependency:
junit
junit
4.12
test
build.gradle file by adding the following dependency:
dependencies {
testImplementation 'junit:junit:4.12'
}
lib directory or classpath.
Setting Up Your Test Environment:
Create a test class: Create a new Java class with the suffixTest, e.g., MyClassTest. This class will contain your test methods. Write your tests: Write JUnit test methods using the @Test annotation, for example:
import org.junit.Test;
import static org.junit.Assert.*;
public class MyClassTest {
@Test
public void testMethod() {
// Your test code goes here
}
}
junit command from your terminal.
Tips and Best Practices:
Organize your tests: Keep your test classes in a separate package, e.g.,com.example.tests. Use descriptive names: Name your test methods descriptively, e.g., testMethodShouldReturnTrue. Write concise tests: Keep your tests short and focused on a specific behavior or scenario. Use mocking libraries: Use libraries like Mockito or PowerMock to simplify your tests by isolating dependencies.
Conclusion:
Installing JUnit is relatively straightforward, especially if you're using Maven or Gradle. With these steps, you should be able to set up your test environment and start writing unit tests for your Java projects. Remember to follow best practices and keep your tests concise and well-organized. Happy testing!
