java selenium testing
java selenium testing

I'll respond in English as per your request!
Java Selenium Testing: A Comprehensive Guide
Selenium is a popular open-source tool for automating web browsers, and Java is one of the most widely used programming languages for creating tests with Selenium. In this guide, we will explore how to use Java with Selenium for testing web applications.

Why Use Selenium with Java?
Ease of Integration: Selenium integrates seamlessly with Java, making it a popular choice among developers. Robust Testing Framework: Java provides a robust testing framework that can be used to create complex tests using Selenium. Cross-Browser Compatibility: Java allows you to test your web application across different browsers and platforms using Selenium.Setting Up the Environment
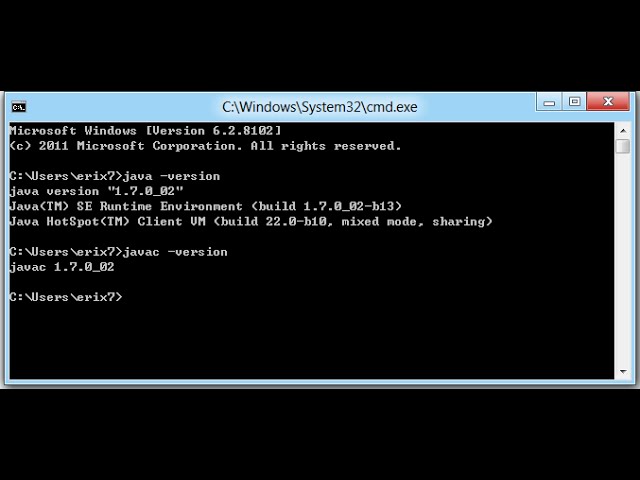
To start testing with Selenium, you need to set up the environment. Here are the steps:
Install Eclipse: You can use any Integrated Development Environment (IDE) that supports Java. For this guide, we will use Eclipse. Install Selenium WebDriver: Download the Selenium WebDriver jar file and add it to your project's classpath. Add Dependencies: Add the necessary dependencies, such as TestNG or JUnit, for creating tests.Creating Tests with Selenium
Now that you have set up your environment, let's create some tests using Selenium:
Create a Test Class: Create a new Java class and annotate it with @Test. Write Test Methods: Write test methods that use Selenium WebDriver to perform actions on the web application. Use Selenium Commands: Use Selenium commands like findElement(), findElements(), and executeScript() to interact with elements on the page.Example Test Method
Here's an example test method that logs in to a web application using Selenium:
import org.openqa.selenium.By;import org.openqa.selenium.WebDriver;
import org.openqa.selenium.WebElement;
import org.openqa.selenium.chrome.ChromeDriver;
public class LoginTest {
@Test
public void loginTest() {
WebDriver driver = new ChromeDriver();
try {
// Navigate to the login page
driver.get("https://example.com/login");
// Find the username and password fields
WebElement usernameField = driver.findElement(By.name("username"));
WebElement passwordField = driver.findElement(By.name("password"));
// Enter credentials
usernameField.sendKeys("testuser");
passwordField.sendKeys("testpass");
// Click the login button
driver.findElement(By.xpath("//input[@value='Login']")).click();
// Verify the user is logged in
// ...
} finally {
driver.quit();
}
}
}
Best Practices
When creating tests with Selenium, follow these best practices:
Keep Tests Simple: Break down complex tests into smaller, manageable pieces. Use Wait Statements: Use wait statements to ensure that the page has loaded before performing actions. Handle Exceptions: Handle exceptions and errors to prevent your tests from crashing.Conclusion
In this guide, we have explored how to use Java with Selenium for testing web applications. With the right setup and knowledge of Selenium commands, you can create robust and reliable tests using Java. Remember to follow best practices and keep your tests simple, and you'll be well on your way to creating a comprehensive test suite.
Java selenium tutorial

I'd be happy to provide you with a comprehensive guide on using Selenium WebDriver with Java.

What is Selenium?
Selenium is an open-source tool for automating web browsers. It allows you to write test scripts that interact with web applications, simulating user actions like clicking buttons, filling out forms, and verifying page content. Selenium supports multiple programming languages, including Java.

Getting Started with Selenium WebDriver in Java
To get started with Selenium WebDriver in Java, you'll need the following:
Java: You'll need to have a basic understanding of Java programming language. Maven or Gradle: You can use either Maven or Gradle as your build tool for managing dependencies and compiling your project.
Here are the steps to get started:

If you're using Maven, add the following dependency to your pom.xml file:
org.seleniumhq.selenium
selenium-java
4.3.0
If you're using Gradle, add the following dependency to your build.gradle file:
Step 2: Set up Your Test Environmentdependencies {implementation 'org.seleniumhq.selenium:selenium-java:4.3.0'
}
Create a new Java project and set up your test environment. You'll need to create a Test class, a Driver class, and a TestConfig class.
Driver Class
The Driver class will be responsible for setting up the WebDriver instance:
import org.openqa.selenium.WebDriver;import org.openqa.selenium.chrome.ChromeDriver;
public class Driver {
public static WebDriver getWebDriver() {
System.setProperty("webdriver.chrome.driver", "/path/to/chromedriver");
return new ChromeDriver();
}
}
TestConfig Class
The TestConfig class will contain constants and variables used throughout your test suite:
Step 3: Write Your First Selenium Testpublic class TestConfig {public static final String BASE_URL = "https://www.example.com";
}
Create a new Java class that extends the Test class. This is where you'll write your first Selenium test:
import org.junit.Test;import org.openqa.selenium.By;
import org.openqa.selenium.WebDriver;
import org.openqa.selenium.WebElement;
public class MyFirstTest extends Test {
@Test
public void testMyPage() {
WebDriver driver = Driver.getWebDriver();
driver.get(TestConfig.BASE_URL);
WebElement pageTitle = driver.findElement(By.xpath("//title"));
Assert.assertEquals("Example Page", pageTitle.getText());
// Add more assertions and actions as needed
driver.quit();
}
}
This is just a basic example to get you started. From here, you can write more tests that interact with web applications, simulate user actions, and verify page content.
Tips and Best Practices
Use page objects: Instead of using WebDriver instances directly in your test methods, create page objects that encapsulate the logic for interacting with specific web pages. Keep tests short and focused: Aim to write tests that are concise and targeted towards a specific aspect of the application. Use data-driven testing: Use frameworks like Cucumber or TestNG to write data-driven tests that test different scenarios and inputs. Maintain your test suite: Keep your test suite up-to-date by refactoring and updating tests as the application evolves.That's it! With this guide, you should be able to get started with Selenium WebDriver in Java and start writing automated tests for web applications.