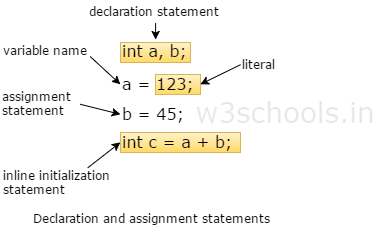
How to format Java code in NetBeans?
How to format Java code in NetBeans?
I'm happy to help you with that! Formatting Java code in NetBeans is a crucial step in making your code readable, maintainable, and efficient. Here's a comprehensive guide on how to do it:
Why Format Code?
Before we dive into the process, let me highlight the importance of formatting code:
How to Format Java Code in NetBeans?
NetBeans provides a range of formatting options that can be customized to suit your preferences. Here's how to format your Java code:
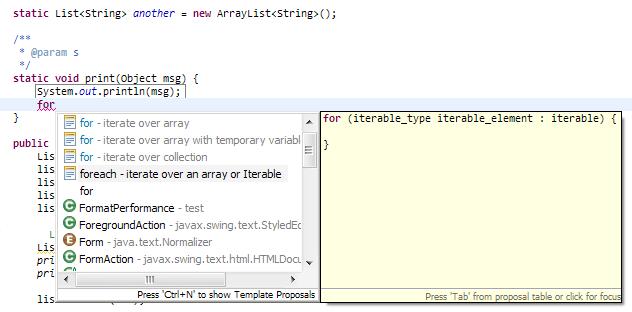
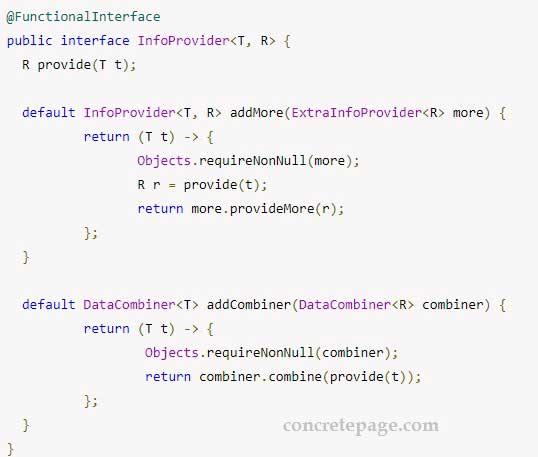
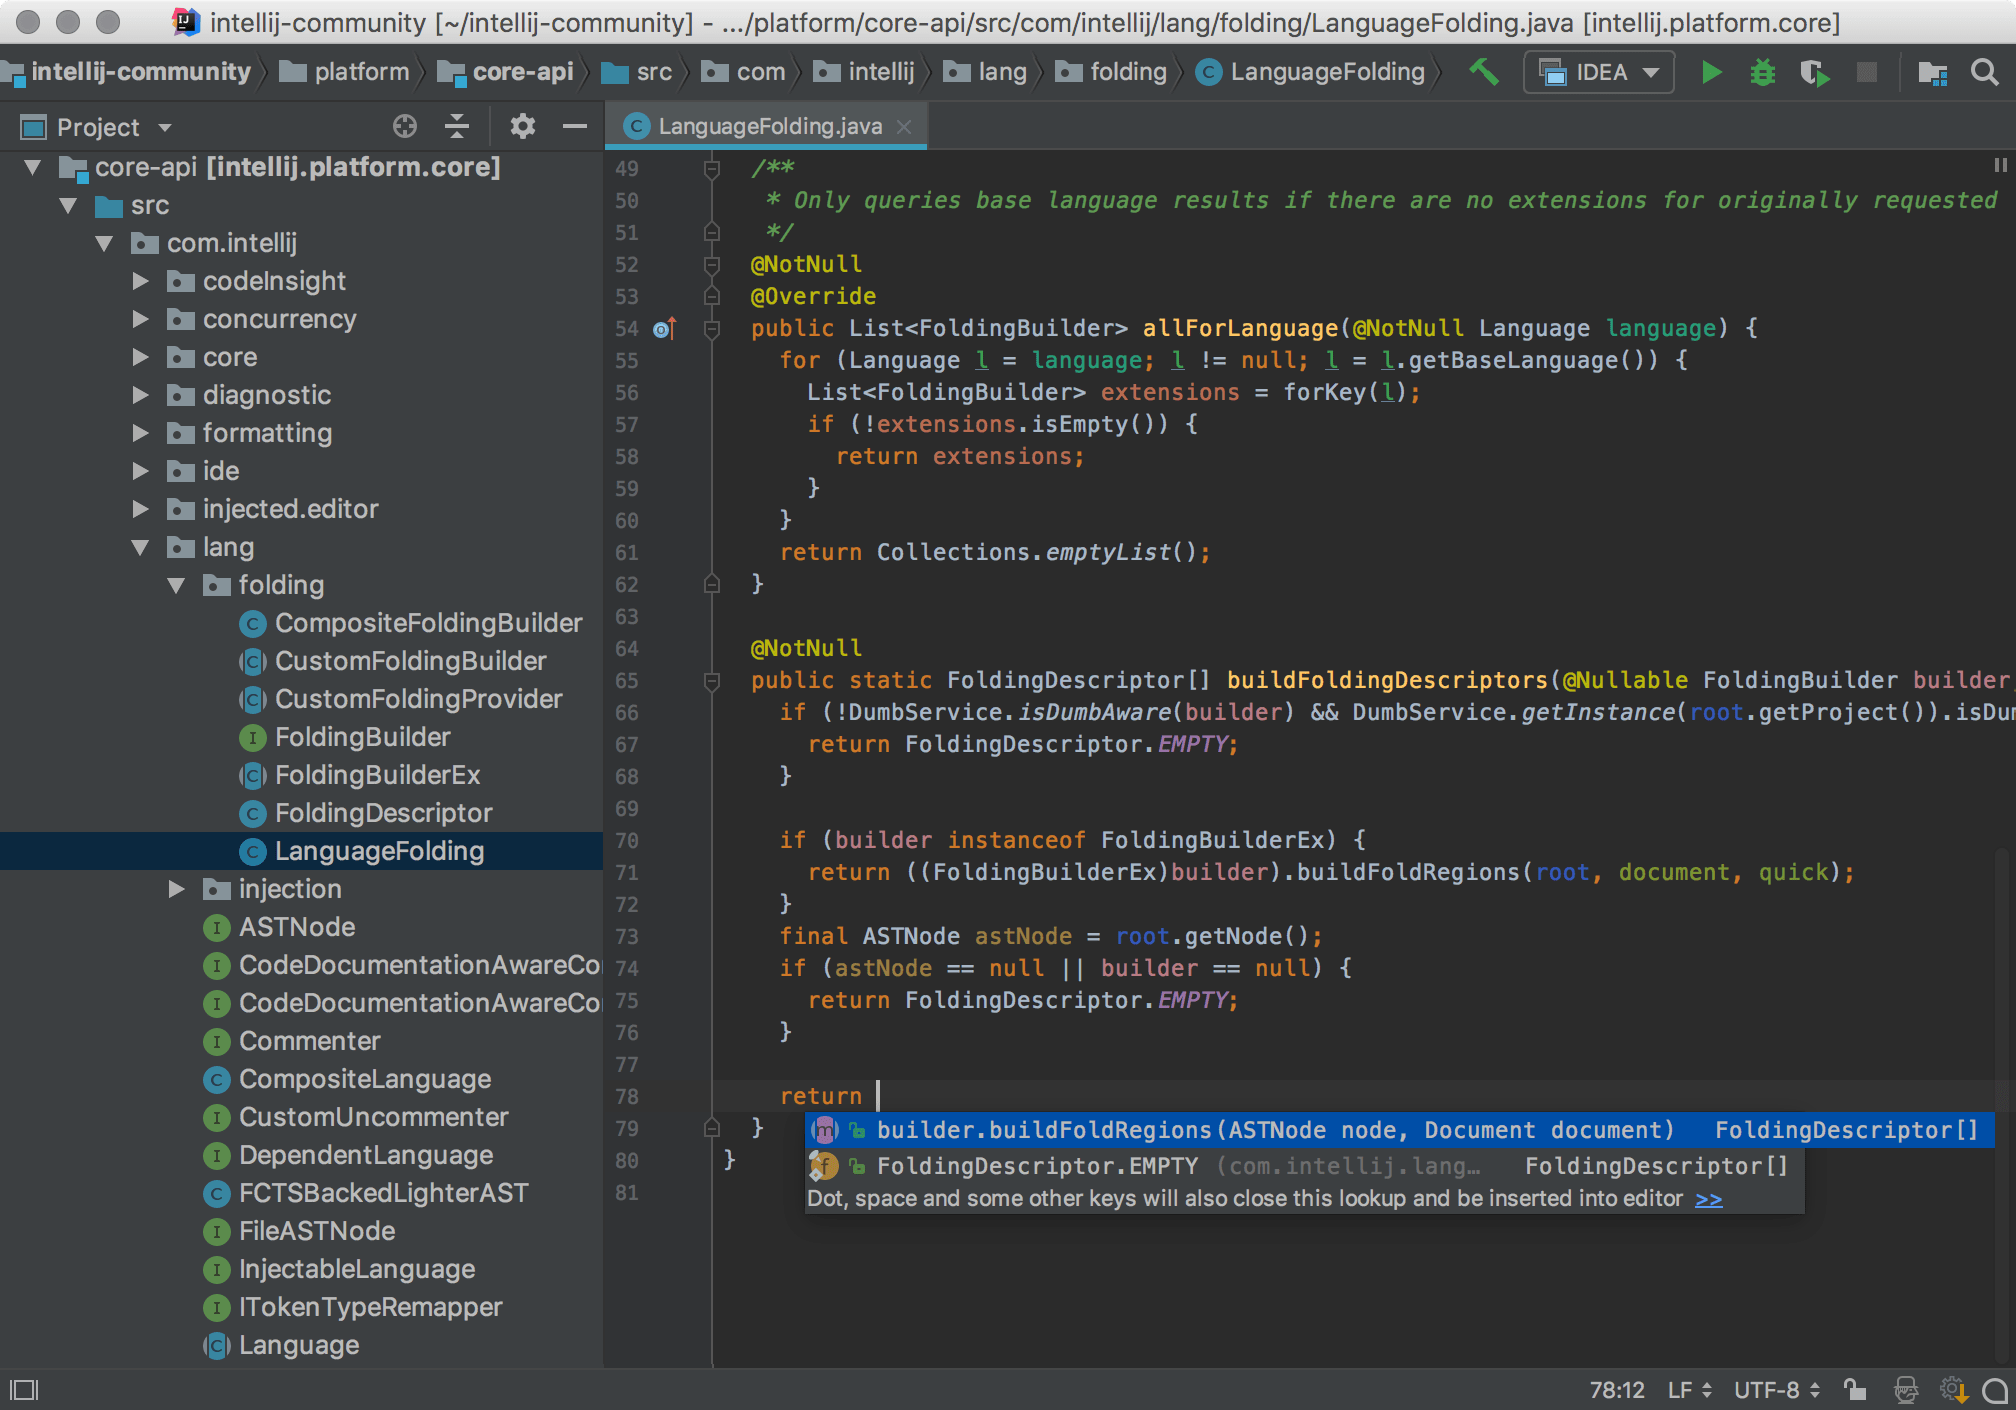
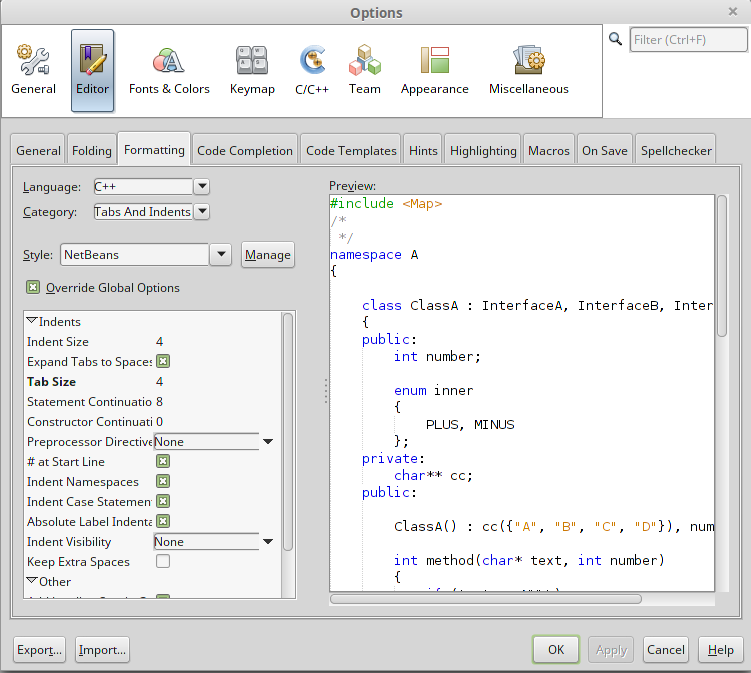
Enable Code Formatting: Go to Tools > Options > Editor > Code Styling, and make sure the "Enable Code Styling" checkbox is selected. Customize Code Formatting: Click on the "Editor" tab and adjust the settings as needed: Indentation: Choose the indentation level (e.g., 4 spaces). Line wrapping: Select how you want lines to wrap when they exceed the maximum length (e.g., after a certain number of characters or at specific positions like parentheses or brackets). Code style: Adjust settings for code blocks, methods, classes, and comments. Apply Format: Right-click on your Java file or a selected portion of it, and choose "Format" > "Java Source" (or press Ctrl + Shift + F (Windows/Linux) or Command + Shift + F (macOS)). Customize Specific Formatting Options: Line wrapping: You can set the maximum line length or specify custom line breaks. Indentation: Adjust indentation levels for specific code blocks, methods, classes, or comments.Some additional tips to keep in mind:
Use NetBeans' built-in code formatting preferences (Tools > Options > Editor > Code Styling) as a starting point and adjust them based on your coding style. Be consistent with your formatting choices throughout the project. When reformatting existing code, make sure to update any manually added whitespace to match the new formatting.Best Practices for Code Formatting in NetBeans
To get the most out of NetBeans' code formatting features:
Use a consistent coding style throughout the project. Format your code regularly as you write it. Customize formatting options based on the specific needs of each file or module. Consider using NetBeans' built-in templates for common code patterns.Conclusion
By following these steps and best practices, you'll be able to format your Java code efficiently in NetBeans, making it easier to read, maintain, and debug. Happy coding!
Java NetBeans tutorial w3schools

Here is a comprehensive tutorial on using Java with NetBeans from W3Schools:
Getting Started with Java and NetBeans
To start developing Java applications, you will need to have the following software installed on your computer:
JDK (Java Development Kit) - This provides the necessary tools for compiling and running Java programs. NetBeans IDE (Integrated Development Environment) - This is a popular open-source IDE that makes it easier to write, compile, and debug your Java code.Downloading and Installing NetBeans
To download and install NetBeans, follow these steps:
Go to the NetBeans website. Click on the "Download" button to start downloading the installation file. Run the installer and follow the prompts to complete the installation. Once the installation is complete, launch NetBeans from your Start menu or Applications folder.Creating a New Java Project
To create a new Java project in NetBeans:
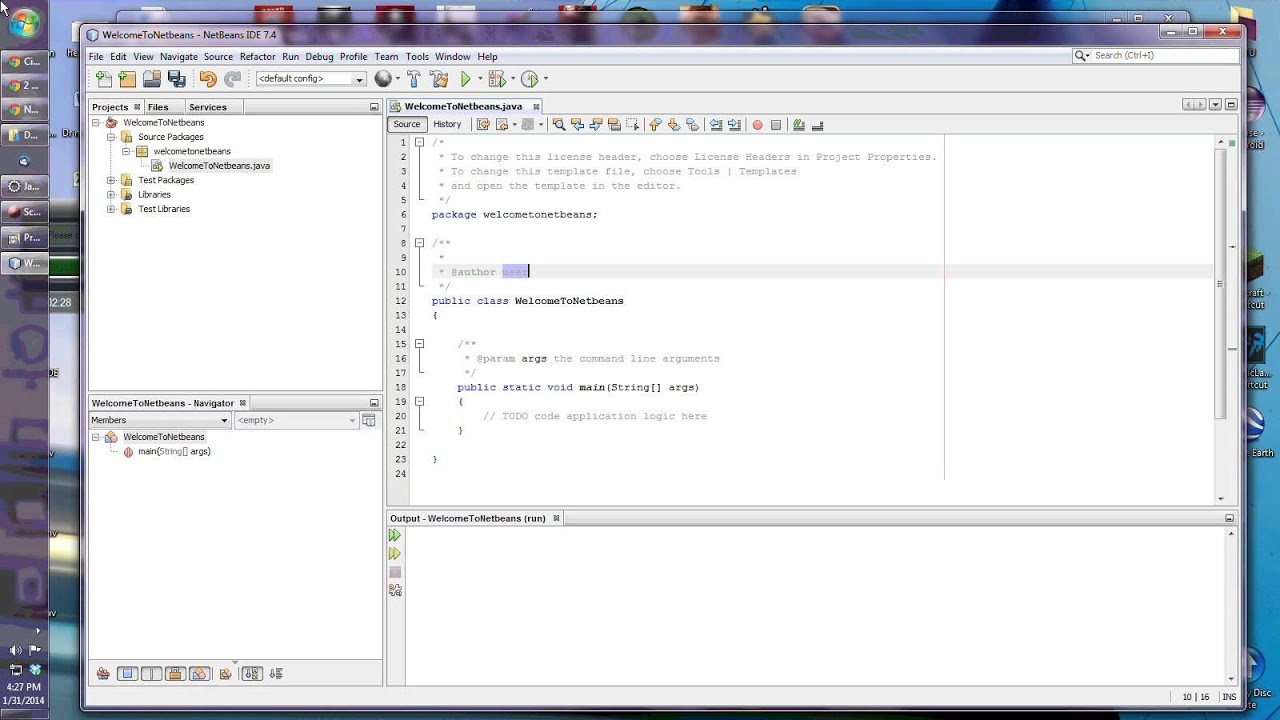
Open NetBeans and click on "File" > "New Project" (or use the keyboard shortcut Ctrl+N). In the "Choose a Category" list, select "Java" and then choose the type of project you want to create (e.g., "Java Application"). Click "Next" and then enter the name of your project, package name, and location where you want to save it. Click "Finish" to create the new project.Writing Java Code
Once you have created a new project, you can start writing Java code in NetBeans's editor:
Main.java (or whatever name you gave your entry point). Write your Java code inside this class. NetBeans will automatically compile and run your code as you type.
Running Your Code
To run your Java code:
Select the "Run" menu or use the keyboard shortcut Ctrl+F5. Choose which main method to run (e.g.,main). Your code will be executed, and any output will appear in the "Output" pane at the bottom of the NetBeans window.
Debugging Your Code
If your Java code is not working as expected:
Place a breakpoint in your code by clicking on the margin next to the line number where you want to stop. Run your code again (using Ctrl+F5). When it stops at the breakpoint, examine the values of variables using the "Variables" window or "Watch" window.Conclusion
This tutorial should have given you a good starting point for using Java with NetBeans. With this IDE and some practice, you can create complex Java applications quickly and easily. For more information on NetBeans features and tutorials, visit the NetBeans documentation.
I hope this helps!