What is REST API in Java with example?
What is REST API in Java with example?
I'm happy to help!
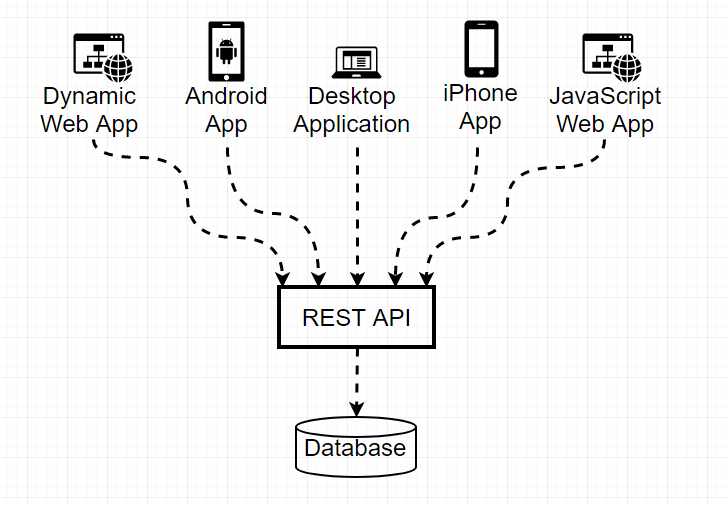
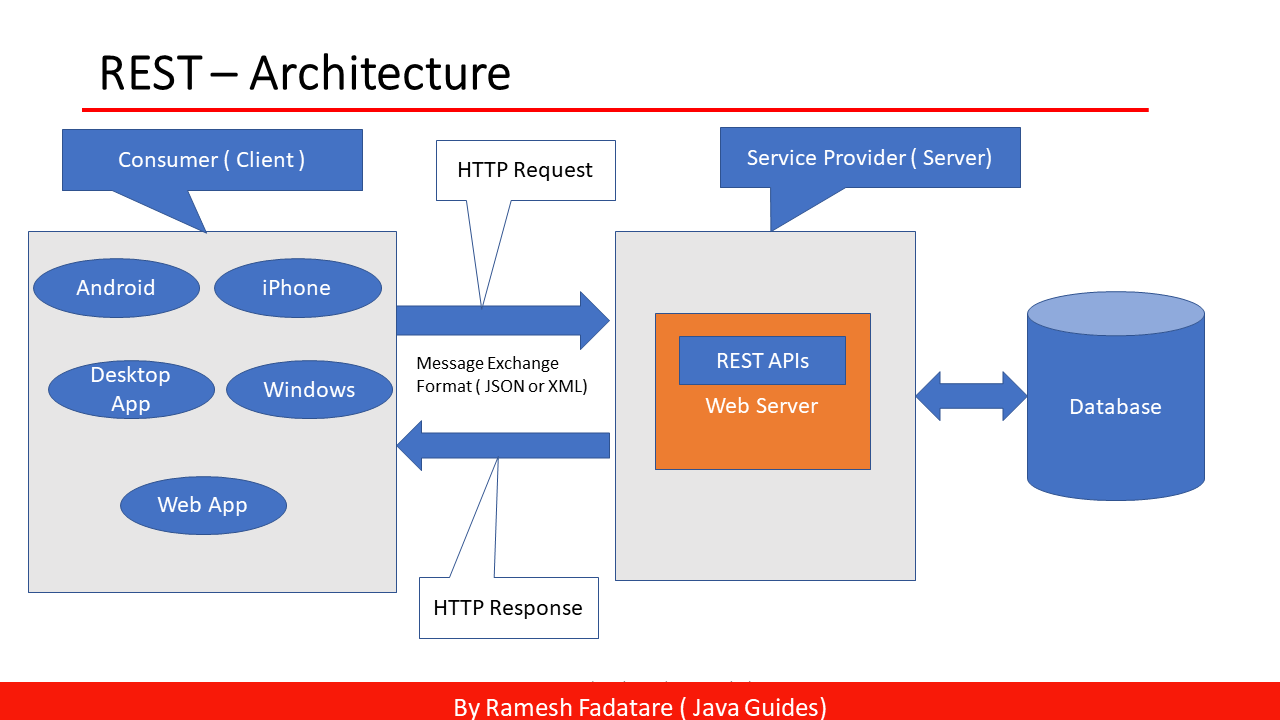
REST (Representational State of the Resource) API is a software architecture that uses the HTTP protocol and JSON or XML data formats to mediate interactions between different systems, typically web-based applications. In this context, I'll explain how to create a simple REST API in Java using the Spring Boot framework.
Why use REST?
REST APIs are widely used because they provide:
Platform independence: REST APIs can be accessed from any device with an internet connection. Scalability: Each request is independent of other requests, making it easier to scale. Stateless: The server does not maintain any state between requests. Flexible: Supports various data formats (e.g., JSON, XML) and protocols.Java REST API Example using Spring Boot
To create a simple REST API in Java, we'll use the Spring Boot framework. First, add the necessary dependencies to your project:
org.springframework.boot
spring-boot-starter-web
Next, create a new Java class for our REST API:
@RestController
public class BookController {
@GetMapping("/books")
public List getBooks() {
// Simulated data
return Arrays.asList(new Book("Book1"), new Book("Book2"));
}
@PostMapping("/books")
public Book addBook(@RequestBody Book book) {
// Simulated data processing
System.out.println("Added book: " + book.getTitle());
return book;
}
}
Explanation
@RestController is a Spring Boot annotation that marks this class as a REST API controller. @GetMapping("/books") specifies the HTTP GET method and the path for our API (in this case, /books). The getBooks() method will be called when a GET request is sent to this path. @PostMapping("/books") specifies the HTTP POST method and the same path as above. The addBook() method will be called when a POST request is sent to this path. @RequestBody Book book injects a Book object into our method, which was sent in the request body (e.g., JSON or XML).
Creating the Book class
Create a simple Book class:
public class Book {
private String title;
public Book(String title) {
this.title = title;
}
public String getTitle() {
return title;
}
}
Testing our REST API
To test our REST API, use tools like Postman or cURL. Here's an example using Postman:
Send a GET request tohttp://localhost:8080/books and you should receive the list of books in JSON format. Send a POST request to http://localhost:8080/books with a JSON payload:
{
"title": "New Book"
}
You should see the book title printed to the console, indicating that the API was called successfully.
That's it! This is a simple example of creating a REST API in Java using Spring Boot. You can expand on this basic functionality to create more complex and robust APIs for your applications.
Simple RESTful web service example in Java Spring Boot
Here's a simple RESTful web service example using Java and the Spring Boot framework:
Step 1: Create a new Spring Boot project
To start, you'll need to create a new Spring Boot project. You can do this by using the Spring Initializr tool at start.spring.io. Select "Web" as your project type and choose Java as your language.
Step 2: Create a RESTful web service endpoint
In your newly created project, you'll need to create a new class that will act as an endpoint for your RESTful service. Let's call this class HelloController.
import org.springframework.web.bind.annotation.GetMapping;
import org.springframework.web.bind.annotation.RestController;
@RestController
public class HelloController {
@GetMapping("/hello")
public String helloWorld() {
return "Hello, World!";
}
}
In this example, we're using the @RestController annotation to indicate that this class will be responsible for handling RESTful requests. The @GetMapping("/hello") annotation indicates that the helloWorld() method should be called whenever a GET request is made to the /hello endpoint.
Step 3: Add Spring Boot dependencies
Next, you'll need to add some dependencies to your project. In this case, you'll want to add the Spring Web dependency to enable RESTful services and the Spring Boot Starter Web dependency to enable auto-configuration of your web application.
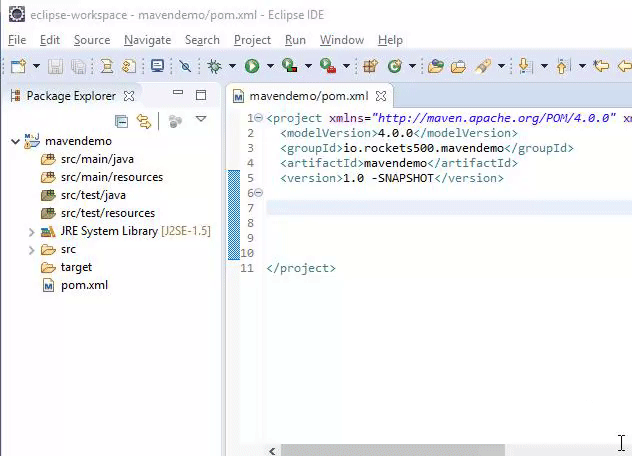
Open your pom.xml file (if you're using Maven) or your build.gradle file (if you're using Gradle), and add the following dependencies:
Maven:
org.springframework.boot
spring-boot-starter-web
Gradle:
dependencies {
implementation 'org.springframework.boot:spring-boot-starter-web'
}
Step 4: Run your Spring Boot application
Finally, you can run your Spring Boot application by using the spring-boot-run command (if you're using Maven) or the gradle bootRun command (if you're using Gradle).
mvn spring-boot:run
or
./gradlew bootRun
Once your application is running, you can use a tool like Postman to send a GET request to the /hello endpoint and verify that you receive the "Hello, World!" response.
That's it! This example demonstrates how you can create a simple RESTful web service using Java and Spring Boot. Of course, there are many other features and configurations available in Spring Boot, but this should give you a good starting point for building your own web services.
Additional Features
Here are some additional features you might find useful:
Path Variable: You can use the@PathVariable annotation to capture path variables in your request. For example:
@GetMapping("/users/{id}")
public String getUser(@PathVariable Long id) {
// Do something with the id
}
@RequestParam annotation to capture query parameters in your request. For example:
@GetMapping("/users")
public String getUsers(@RequestParam(defaultValue = "10") Integer limit) {
// Do something with the limit
}
@ResponseBody annotation and convert your object to a JSON string. For example:
@GetMapping("/users")
public @ResponseBody List getUsers() {
// Do something to get users
}
These are just a few examples, but Spring Boot provides many other features and configurations that you can use to build powerful web services.
I hope this helps!