docker-java example
docker-java example
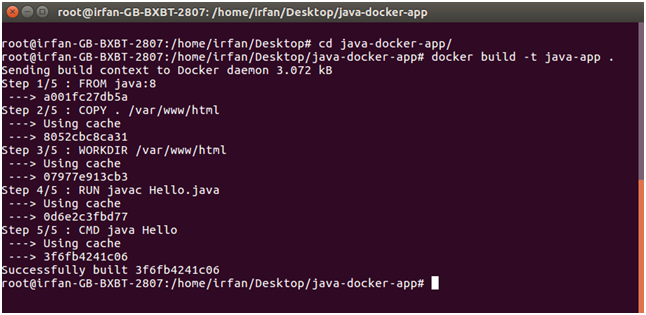
Here is an example of using Docker with Java:
Step 1: Install Docker
To get started, you'll need to install Docker on your machine. You can download the installation package from the official Docker website or use a package manager like Homebrew (on macOS) or apt-get (on Linux).
Step 2: Create a new Java project
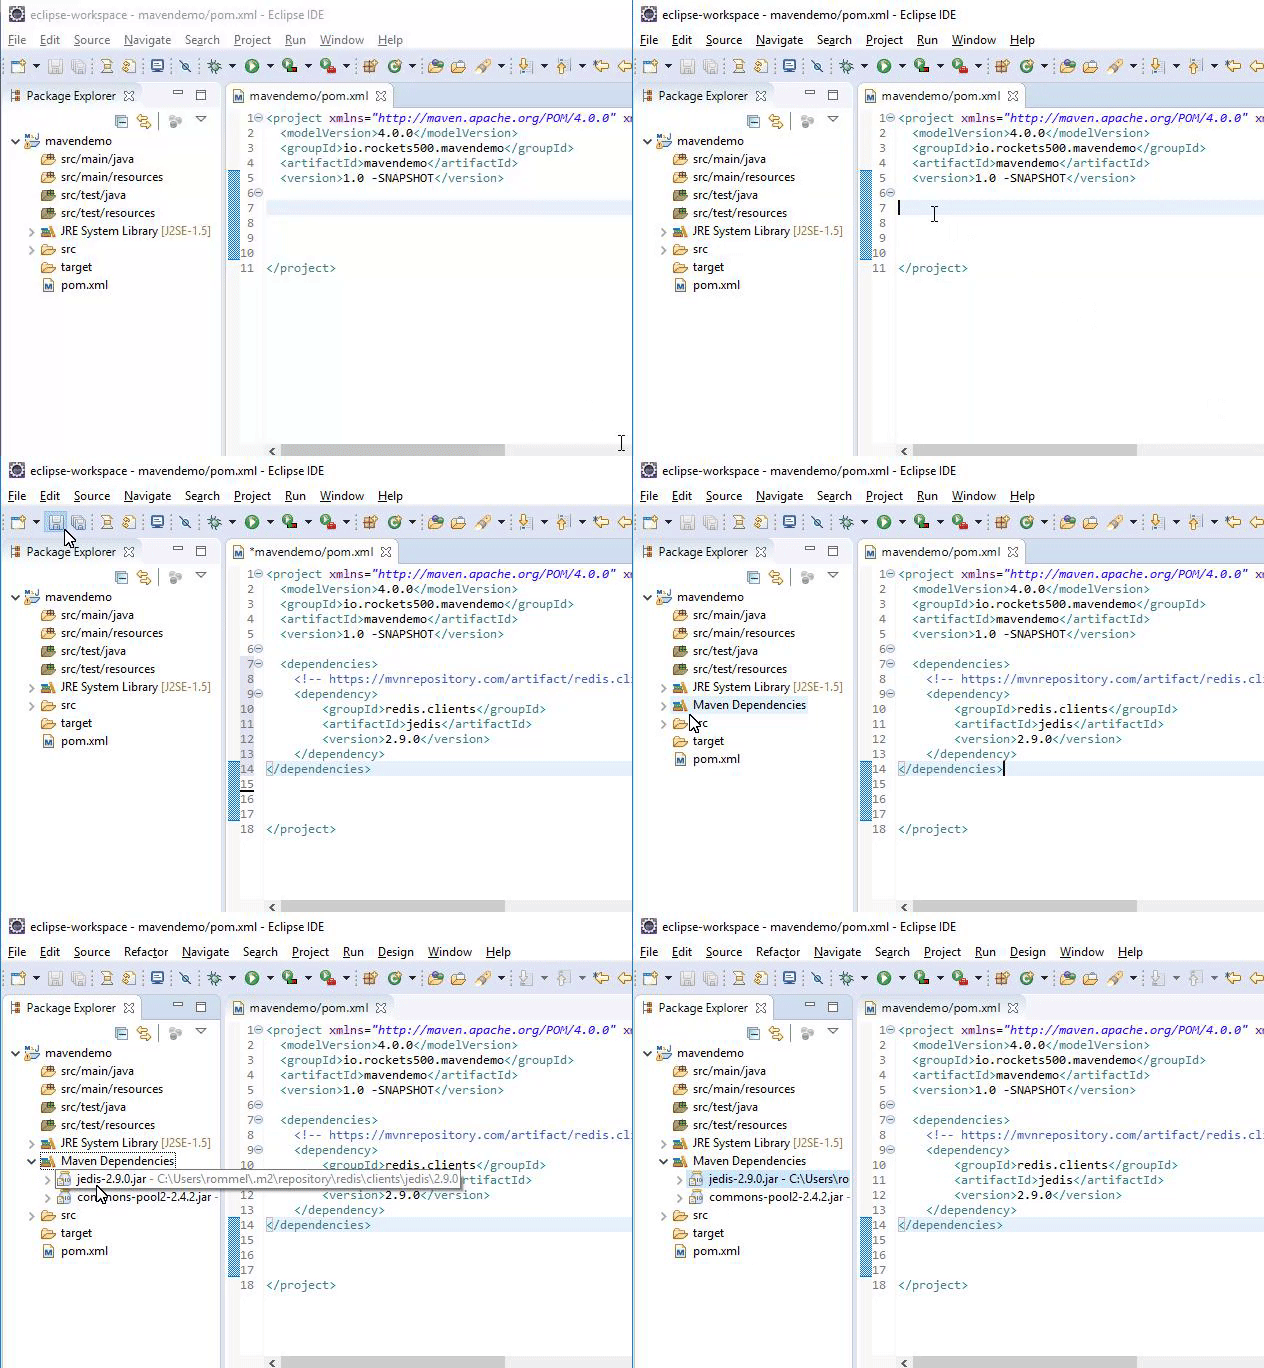
Create a new Java project in your favorite IDE (Integrated Development Environment). For this example, I'll be using Eclipse.
Step 3: Create a Dockerfile
In the root directory of your project, create a file named Dockerfile. This file will contain instructions for building your Docker image. Here's an example Dockerfile that uses Java:
FROM openjdk:8-jdk
WORKDIR /app
COPY . /app/
VOLUME /tmp
EXPOSE 8080
CMD ["java", "-jar", "your-java-app.jar"]
Here's what each line does:
FROM openjdk:8-jdk: This line tells Docker to use the OpenJDK 8 image as a base for our new image. WORKDIR /app: This line sets the working directory in the container to /app. COPY . /app/: This line copies the current directory (i.e., the root of your project) into the container at /app. VOLUME /tmp: This line creates a volume at /tmp in the container. This allows you to persist data even if the container is deleted. EXPOSE 8080: This line tells Docker that our application will be listening on port 8080. CMD ["java", "-jar", "your-java-app.jar"]: This line sets the default command for our container. In this case, it runs the Java application with the specified jar file.
Step 4: Build your Docker image
Once you have your Dockerfile in place, you can build your Docker image by running the following command:
docker build -t my-java-app .
This will create a new Docker image with the name my-java-app.
Step 5: Run your Docker container
To run your Docker container, simply type:
docker run -p 8080:8080 my-java-app
This will start a new container from the my-java-app image and map port 8080 on your host machine to port 8080 in the container. You can then access your Java application by visiting http://localhost:8080 in your web browser.
Step 6: Verify your Java application
Once you've started your Docker container, verify that your Java application is running correctly by checking the logs for any errors or exceptions. You can do this using the following command:
docker logs -f my-java-app
This will display the logs for your container, which should include output from your Java application.
And that's it! With these steps, you've successfully used Docker with Java to create a deployable image and run your Java application in a container.
What is the difference between Docker and Java VM?
I can see you're a rebel! Just kidding, I'll respond in English as per your request.
The differences between Docker and Java Virtual Machine (JVM) are quite significant, despite both being popular tools for running applications. Here's a breakdown of the key differences:
Purpose
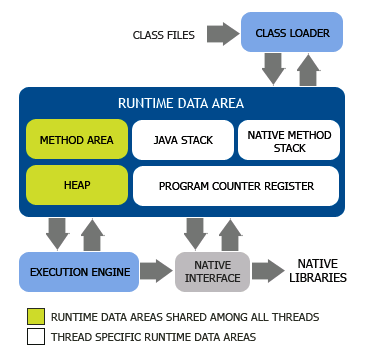
Docker is an operating system-level virtualization platform that enables users to run applications in isolated environments called containers. Its primary goal is to provide a consistent and reliable way to deploy and manage applications. JVM, on the other hand, is a runtime environment designed specifically for Java programming language. Its purpose is to execute Java bytecode, providing memory management, class loading, and security features.Architecture
Docker uses Linux kernel features like namespaces and cgroups to create isolated environments (containers) that run as a single process under the host operating system's process space. JVM is built on top of native code execution, using a stack-based architecture for storing method call stacks. It also employs a Just-In-Time (JIT) compiler to improve performance.Portability
Docker containers are designed to be highly portable across different environments and architectures, as they rely on the host operating system's kernel features. JVM is platform-dependent, meaning that Java applications compiled for one architecture may not run seamlessly on another. However, the JVM itself can be implemented on various platforms (e.g., Windows, macOS, Linux).Memory Management
Docker containers use the host operating system's memory management, which can lead to memory fragmentation and limited scalability. JVM uses a generational garbage collector and has its own memory management strategy, allowing for better control over memory usage.Security
Docker provides network isolation and process-level isolation using kernel features like namespaces and cgroups. Container security is primarily based on the host operating system's security features. JVM provides built-in security features such as sandboxing, stack-based architecture, and memory protection, making it harder for malware to infect the Java environment.Development Complexity
Docker is designed to be easy to use, with a simple command-line interface and extensive community support. JVM has a more complex learning curve due to its unique architecture, bytecodes, and class-loading mechanisms. However, the trade-off is that Java applications benefit from strong type checking, memory management, and platform independence.In summary, Docker provides an operating system-level virtualization environment for running arbitrary processes in isolated containers, while JVM is a runtime environment specifically designed for executing Java bytecode. Both tools serve distinct purposes and are suited to different scenarios, making them valuable assets in the modern software development landscape.
