How to create a MongoDB collection in Java?
How to create a MongoDB collection in Java?
To create a MongoDB collection in Java, you can use the official MongoDB Java driver, which is available for download on the MongoDB website. Here are the steps to follow:
Step 1: Add the MongoDB Java Driver to Your Project
To get started with the MongoDB Java driver, you'll need to add it as a dependency in your project's build file (e.g., Maven or Gradle). For example, if you're using Maven, add the following dependency to your pom.xml file:
org.mongodb
mongo-java-driver
3.12.7
Step 2: Connect to MongoDB
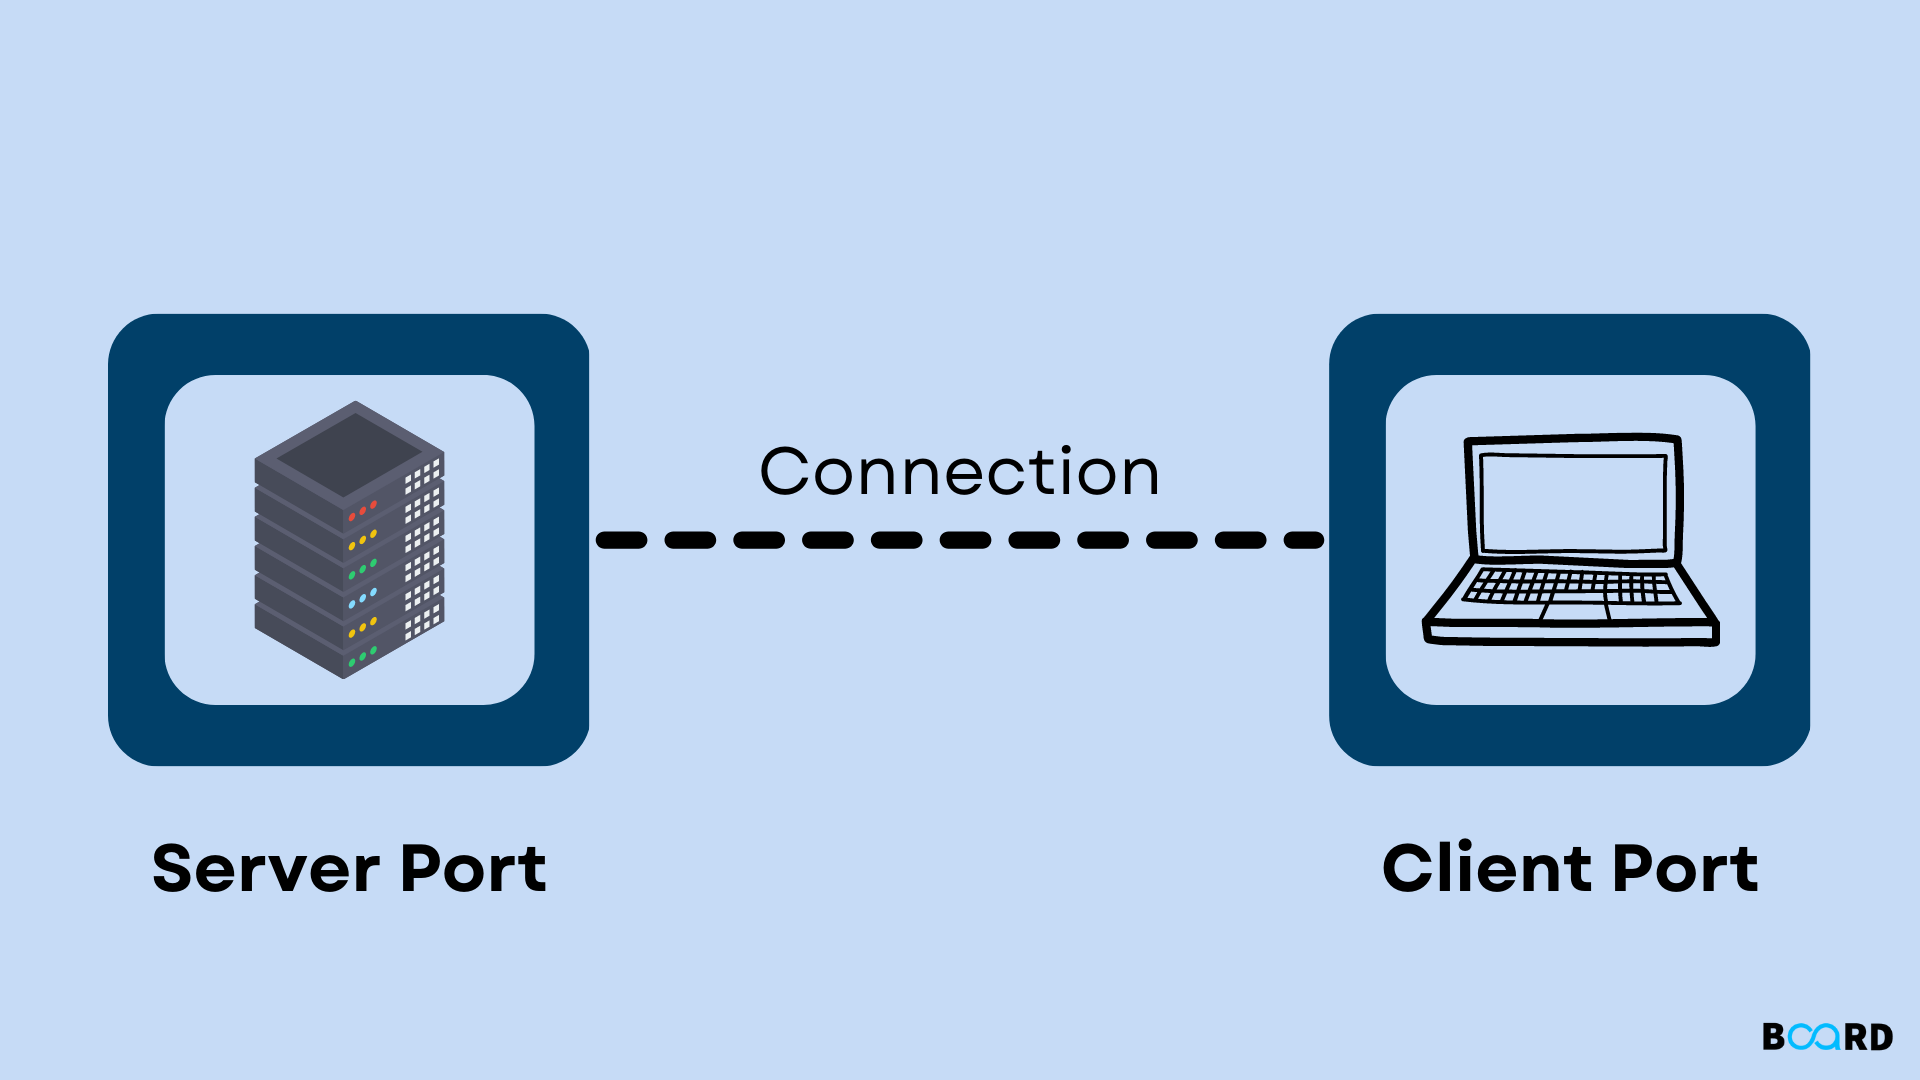
Next, you'll need to establish a connection to your MongoDB instance using the Java driver. You can do this by creating an instance of the MongoClient class and passing in the URL of your MongoDB instance:
MongoClient client = new MongoClient("mongodb://localhost:27017/"); // Replace with your MongoDB instance URL
Step 3: Create a Database
Before you can create a collection, you need to ensure that the database exists. You can create a database using the following code:
DB db = client.getDB("mydatabase"); // Replace with your database name
Step 4: Create a Collection
Now it's time to create the collection itself! Use the createCollection method of the DBCollection class to create a new collection:
DBCollection coll = db.createCollection("mycollection"); // Replace with your desired collection name
Here's some sample code that demonstrates how to create a MongoDB collection in Java:
import com.mongodb.MongoClient;
import com.mongodb.DB;
import com.mongodb.DBCollection;
public class CreateMongoCollection {
public static void main(String[] args) {
MongoClient client = new MongoClient("mongodb://localhost:27017/"); // Replace with your MongoDB instance URL
DB db = client.getDB("mydatabase"); // Replace with your database name
DBCollection coll = db.createCollection("mycollection"); // Replace with your desired collection name
System.out.println("Collection created successfully!");
}
}
Note: Make sure to replace the placeholders (localhost:27017, mydatabase, and mycollection) with your actual MongoDB instance URL, database name, and collection name.
What are the dependencies for Java for MongoDB?
Java developers can interact with MongoDB using various drivers that provide a connection between their Java application and the NoSQL database. The dependencies required to work with MongoDB from Java include:
MongoDB Java Driver: This is the official driver developed by MongoDB, which provides a low-level API for interacting with the database. It is available as a Maven or Gradle dependency.Dependency: com.mongodb:mongo-java-driver:3.12.7
Dependency: com.fasterxml.jackson.core:jackson-databind:2.12.3
Dependency: org.apache.commons:commons-lang3:3.12.0
Dependency: org.slf4j:slf4j-api:1.7.32
Dependency: ch.qos.logback:logback-classic:1.2.3 (for Logback)
Dependency: log4j:log4j:1.2.17 (for Log4j)
To include these dependencies in your Maven project, you can add the following entries to your pom.xml file:
com.mongodb
mongo-java-driver
3.12.7
com.fasterxml.jackson.core
jackson-databind
2.12.3
org.apache.commons
commons-lang3
3.12.0
org.slf4j
slf4j-api
1.7.32
ch.qos.logback
logback-classic
1.2.3
log4j
log4j
1.2.17
For Gradle projects, you need to add the following dependencies in your build.gradle file:
dependencies {
implementation 'com.mongodb:mongo-java-driver:3.12.7'
implementation 'com.fasterxml.jackson.core:jackson-databind:2.12.3'
implementation 'org.apache.commons:commons-lang3:3.12.0'
implementation 'org.slf4j:slf4j-api:1.7.32'
// Optional: Use Logback or Log4j
implementation 'ch.qos.logback:logback-classic:1.2.3'
// Alternative for log4j instead of logback
implementation 'log4j:log4j:1.2.17'
}
Once you've included the necessary dependencies, you can use the MongoDB Java Driver to connect to your MongoDB database and perform CRUD (Create, Read, Update, Delete) operations.
