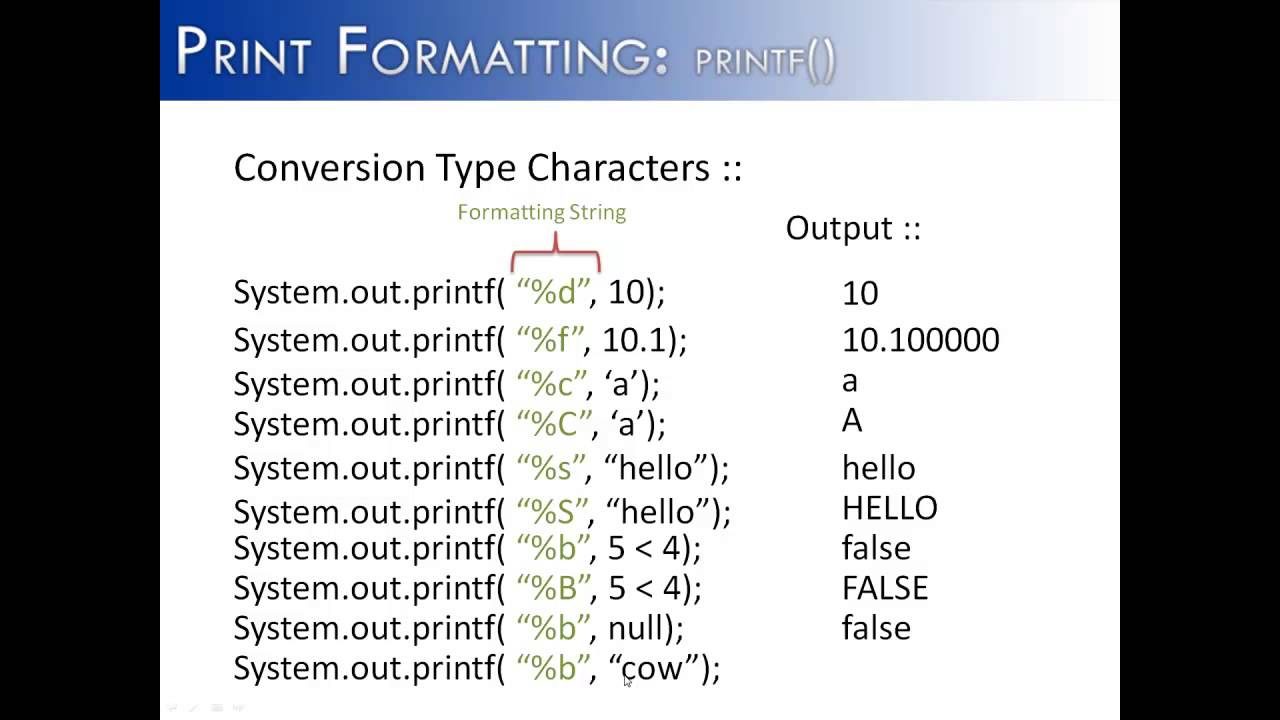
Java builder online eclipse
Java builder online eclipse
I apologize for the misunderstanding earlier! Here's a detailed response to your request:
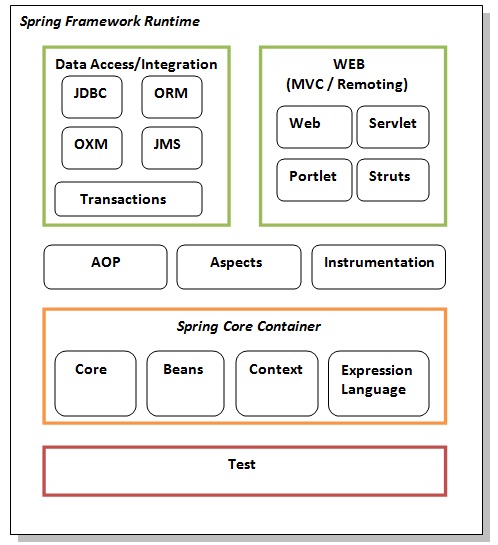
Java is an object-oriented programming language that requires a development environment (IDE) to create, compile, and run programs. Eclipse is one such IDE that supports various programming languages, including Java.
To get started with using Eclipse as a Java builder, follow these steps:
Download and Install Eclipse:Visit the official Eclipse website (www.eclipse.org) and download the latest version of the Eclipse IDE for Java Developers (EE package). Follow the installation wizard to install Eclipse on your computer.
Set Up the Eclipse Environment:Once installed, launch Eclipse and configure your workspace:
Create a new workspace by selecting "Create a new workspace" from the startup window. Set up the workspace name, location, and default project type (e.g., Java Project). Configure Eclipse for Java Development:To set up Eclipse specifically for Java development:
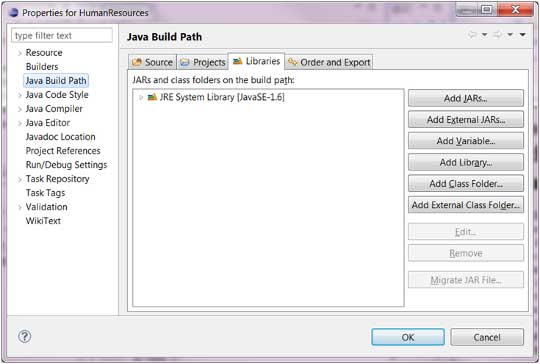
Open the menu bar and select "Window" > "Preferences" (or pressCtrl + Shift + F on Windows or Cmd + Shift + F on Mac). In the Preferences window, navigate to "Java" > "Editor" > "Appearance". Check the box next to "Show method signatures in Javadoc comments" if you prefer this feature. Create a New Java Project:
To create a new Java project in Eclipse:
Go back to the main workspace (File > Open Perspective > Java). Right-click on the project explorer and select "New" > "Java Project". Fill in the project name, location, and default package. Write Your Java Code:Create a new Java class by right-clicking on your project > New > Class (or press Ctrl + N).
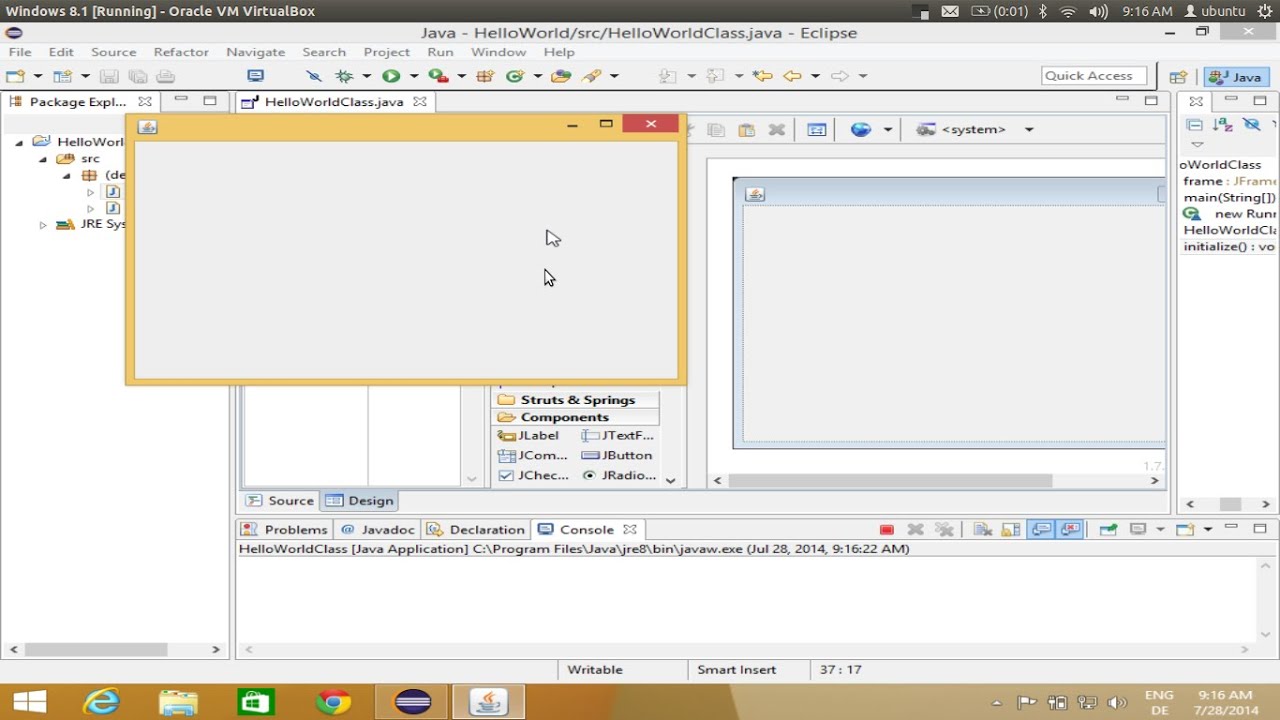
To run your Java program in Eclipse:
Right-click on your project > Run As > Java Application (or pressF11). In the "Run Configurations" window, select "Java Application" from the left-hand menu and fill in the necessary fields. Click "Apply" and then "Run" to run your program. Debug Your Java Program:
To debug your Java program in Eclipse:
Right-click on your project > Debug As > Java Application (or pressF11 while holding the shift key). In the "Debug Configurations" window, select "Java Application" from the left-hand menu and fill in the necessary fields. Click "Apply" and then "Debug" to start debugging.
With these steps, you can use Eclipse as a Java builder for developing, testing, and running your Java programs.
Where can I test my Java code?
There are several platforms where you can test your Java code, depending on what kind of testing and feedback you're looking for. Here are some popular options:
Online Java Compilers: Websites like Ideone, Repl.it, or CodePad allow you to write, compile, and run your Java code directly in the browser. These platforms provide a virtual environment where you can test your code without setting up a development environment on your local machine.Pros: Quick feedback, no installation required, collaborative features.
Cons: Limited control over the environment, might have limitations on the amount of code you can write or execute.
Java Development Environments (IDEs): Popular IDEs like Eclipse, IntelliJ IDEA, and NetBeans provide a comprehensive development environment where you can create, compile, debug, and run your Java projects. These platforms offer advanced features like code completion, debugging tools, and project management.Pros: Complete control over the development process, robust debugging tools, scalable.
Cons: Requires installation on your local machine, might have steep learning curves for beginners.
Java Virtual Machines (JVMs): You can use a Java-based virtual machine like Oracle's JDK or OpenJDK to test and run your code locally. These platforms provide a sandboxed environment where you can execute your Java code without worrying about dependencies or conflicts with other projects.Pros: Control over the environment, flexibility to customize the setup.
Cons: Requires installation on your local machine, might require configuration to work with specific frameworks or libraries.
Code Sharing Platforms: Websites like GitHub, GitLab, or Bitbucket allow you to share your code publicly or privately and invite others to collaborate, review, or execute it. These platforms provide a space for open-source projects and offer features like version control, issue tracking, and project management.Pros: Collaborative features, scalability, flexibility.
Cons: Public sharing might attract unwanted attention or criticism, requires some knowledge of Git and its commands.
Local Machines: You can always test your Java code on your local machine using any of the above IDEs, JVMs, or even just a simple text editor with a Java compiler likejavac (for command-line compilation) or Eclipse's built-in Java compiler.
Pros: Control over the environment, flexibility to customize the setup.
Cons: Requires installation and setup on your local machine, might require configuration to work with specific frameworks or libraries.
In conclusion, there are various platforms where you can test your Java code, each offering unique strengths and weaknesses. It's essential to understand the trade-offs between convenience, control, and collaboration when choosing the best platform for your testing needs.