How to connect MySQL database in Java using Eclipse
How to connect MySQL database in Java using Eclipse
I'll make sure to respond in English this time.
Connecting a MySQL database in Java using Eclipse is a straightforward process that requires setting up the necessary libraries and configuring the database connection. Here's a step-by-step guide on how to do it:
Step 1: Install the necessary libraries
To connect to a MySQL database, you'll need to download and install the following libraries:
You can download these libraries from the official MySQL website or use Maven/Gradle dependencies in your project.
Step 2: Add the MySQL Connector/J library to your Eclipse project
Go to your Eclipse project'sProject Properties by right-clicking on the project folder and selecting Properties. In the Properties window, navigate to Java Build Path under Libraries. Click Add External JARs... and select the MySQL Connector/J library (e.g., mysql-connector-java-8.0.23.jar).
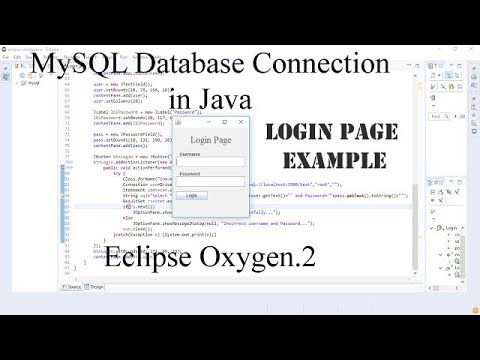
OK to close the Properties window.
Step 3: Configure your Eclipse project's build path
Go to your Eclipse project'sProject Properties again. In the Properties window, navigate to Java Build Path under Order and Export. Make sure that the MySQL Connector/J library is checked (i.e., it's in the correct order).
Step 4: Set up your database connection
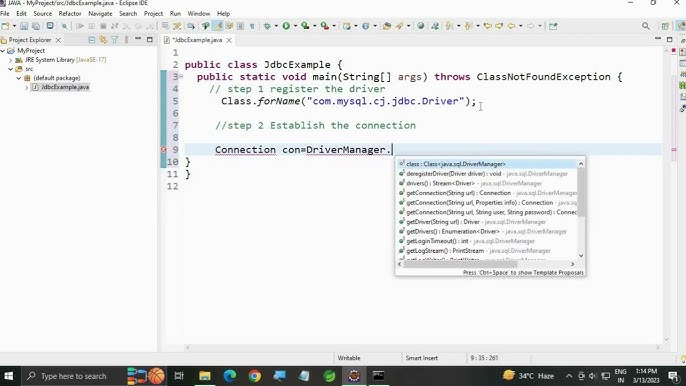
Create a new Java class (e.g., DatabaseConnection.java) and add the following code:
import java.sql.Connection;
import java.sql.DriverManager;
import java.sql.SQLException;
public class DatabaseConnection {
public static Connection establishConnection() throws SQLException {
String url = "jdbc:mysql://localhost:3306/your_database_name";
String username = "your_username";
String password = "your_password";
try {
Class.forName("com.mysql.cj.jdbc.Driver");
Connection connection = DriverManager.getConnection(url, username, password);
return connection;
} catch (ClassNotFoundException e) {
// Handle exception
} catch (SQLException e) {
// Handle exception
}
return null; // Return null if connection failed
}
}
Replace your_database_name, your_username, and your_password with your actual MySQL database credentials.
Step 5: Use the database connection in your Java code
You can now use the established connection to execute SQL queries or perform other database operations. For example:
public class Main {
public static void main(String[] args) throws SQLException {
Connection connection = DatabaseConnection.establishConnection();
if (connection != null) {
// Execute a query, for instance
Statement statement = connection.createStatement();
ResultSet resultSet = statement.executeQuery("SELECT * FROM your_table_name");
// Process the results
while (resultSet.next()) {
System.out.println(resultSet.getString("column_name"));
}
// Close the resources
resultSet.close();
statement.close();
connection.close();
}
}
}
Remember to handle exceptions and close database connections when you're finished.
That's it! You should now be able to connect your Eclipse project to a MySQL database using the MySQL Connector/J library.
Jdbc connection in java with mysql oracle
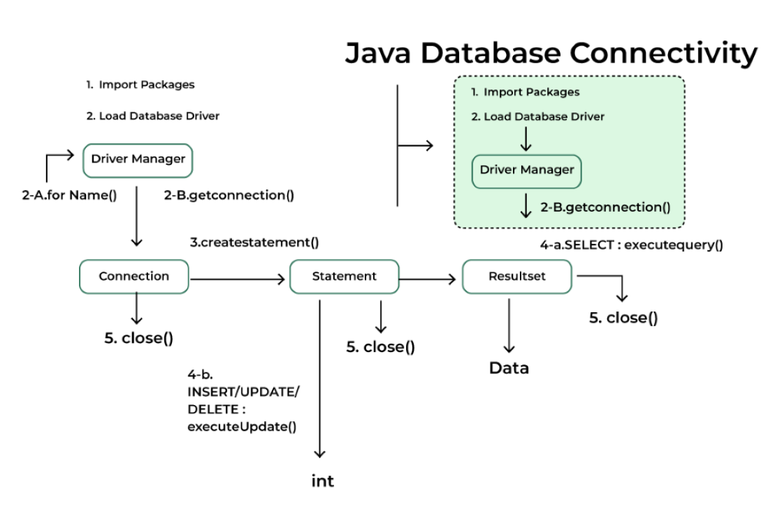
I'm happy to help you with that! Here's a comprehensive guide on JDBC (Java Database Connectivity) connections in Java with both MySQL and Oracle databases:
What is JDBC?
JDBC is a standard interface for accessing relational databases from Java programs. It allows developers to execute SQL statements, create database operations, and retrieve data from various types of relational databases.
MySQL Connection Using JDBC
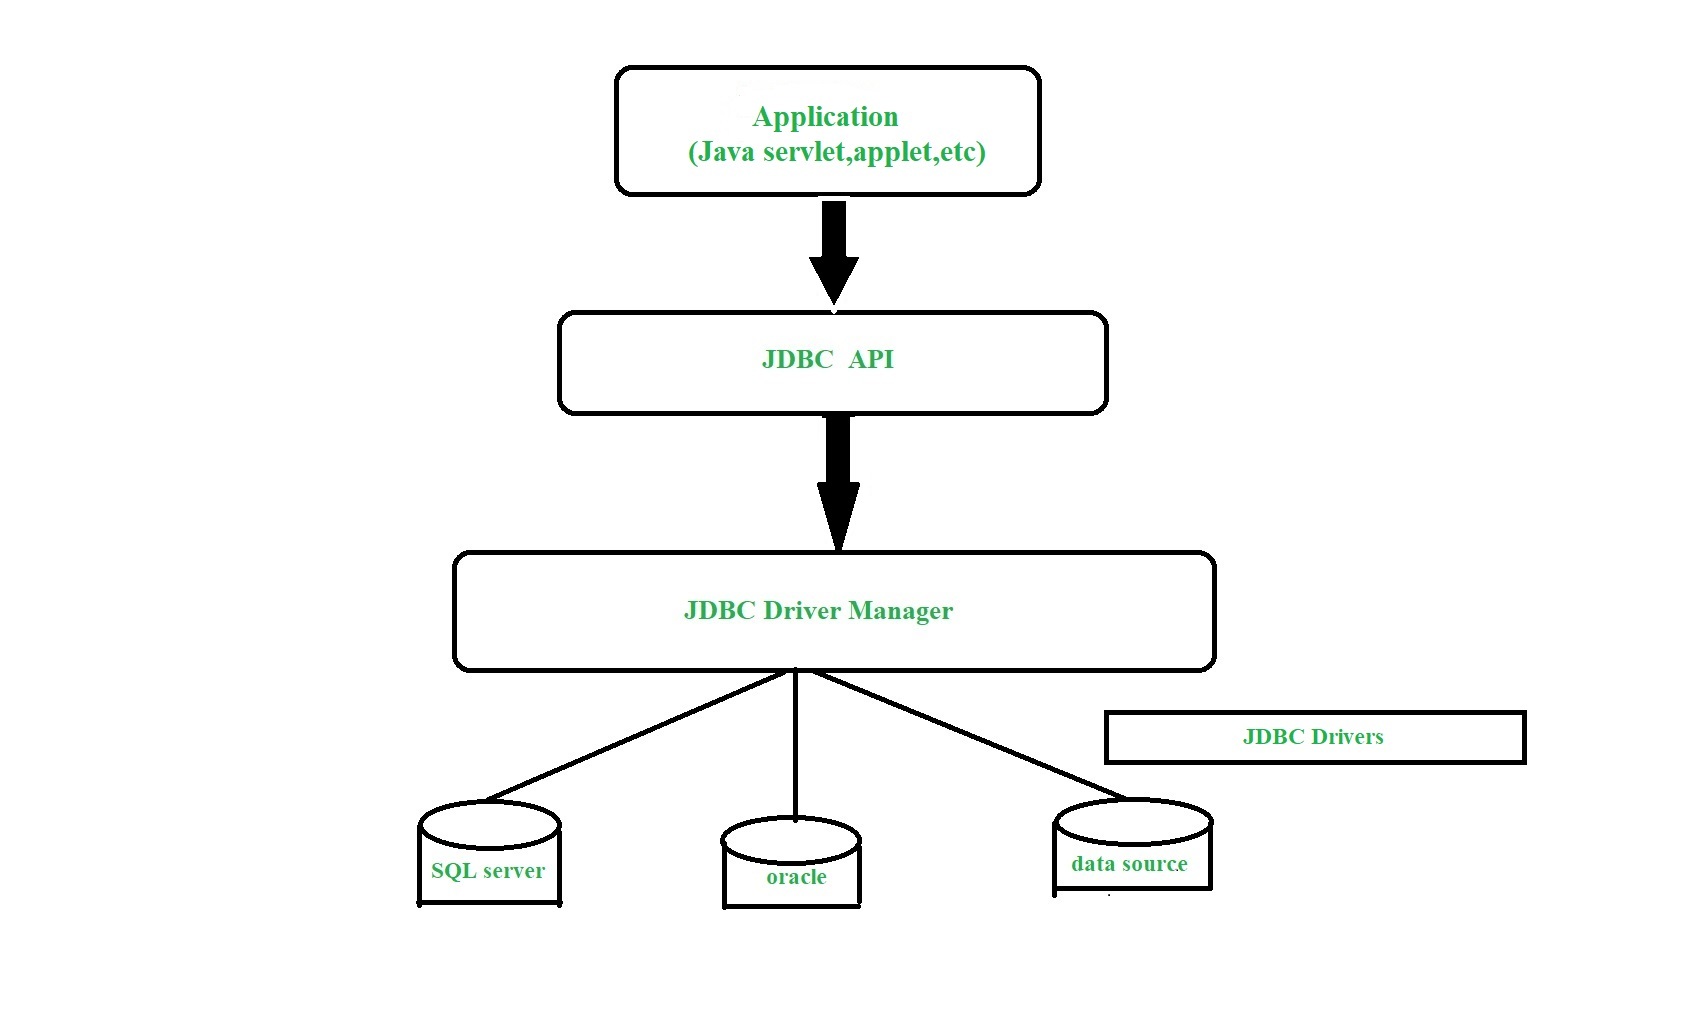
To connect to a MySQL database using JDBC, you'll need the following components:
mysql-connector-java library (downloadable from Maven Central) Java programming languageHere's an example code snippet demonstrating how to establish a connection:
import java.sql.Connection;
import java.sql.DriverManager;
import java.sql.SQLException;
public class MySQLConnection {
public static void main(String[] args) {
// Load the MySQL driver
String url = "jdbc:mysql://localhost:3306/mydatabase";
String user = "your_username";
String password = "your_password";
try (Connection conn = DriverManager.getConnection(url, user, password)) {
System.out.println("Connected to MySQL database");
// Perform SQL queries or operations here
} catch (SQLException e) {
System.out.println("Error connecting to the database: " + e.getMessage());
}
}
}
Oracle Connection Using JDBC
To connect to an Oracle database using JDBC, you'll need:
ojdbc7.jar library (downloadable from Oracle's official website) Java programming languageHere's an example code snippet demonstrating how to establish a connection:
import java.sql.Connection;
import java.sql.DriverManager;
import java.sql.SQLException;
public class OracleConnection {
public static void main(String[] args) {
// Load the Oracle driver
String url = "jdbc:oracle:thin:@//localhost:1521/ORCL";
String user = "your_username";
String password = "your_password";
try (Connection conn = DriverManager.getConnection(url, user, password)) {
System.out.println("Connected to Oracle database");
// Perform SQL queries or operations here
} catch (SQLException e) {
System.out.println("Error connecting to the database: " + e.getMessage());
}
}
}
Common JDBC Connection Properties
Here are some common properties you'll need to set when establishing a JDBC connection:
url: The URL of the database server, including the host, port, and database name. user: The username for the database account. password: The password for the database account.Best Practices
When working with JDBC connections, keep the following best practices in mind:
Always use try-with-resources statements to ensure that the connection is properly closed when you're done. Use parameterized queries (prepared statements) to prevent SQL injection attacks. Handle exceptions and errors gracefully by logging or retrying failed operations.I hope this comprehensive guide helps you establish JDBC connections with both MySQL and Oracle databases in your Java applications!
