Java module path jdk
Java module path jdk
I'm glad to hear that you're interested in learning more about the relationship between Java and the JDK (Java Development Kit). Here's a comprehensive response, written exclusively in English:
The Java Development Kit (JDK) is a software development kit developed by Oracle Corporation. It contains the tools needed to compile, run, and package Java programs, including the Java Runtime Environment (JRE), a set of libraries known as "rt.jar", and a compiler for developing new classes.
Java modules are part of the JDK 14 and later releases. They provide a mechanism for grouping related packages together, making it easier to manage dependencies between different parts of your application. With modules, you can define explicit dependencies on other modules or JAR files, which helps maintain a clean and organized project structure.
When working with Java modules, you'll typically use the "module-path" option when running your application or compiling code with the JDK's java command. The module-path option tells the JVM (Java Virtual Machine) where to find additional modules that your program depends on.
For example, let's say you have a project structure like this:
myproject/
src/
main.java
moduleA/
packageA.java
packageB.java
moduleB/
packageC.java
pom.xml
In this case, "main.java" is the entry point of your application, while "moduleA" and "moduleB" are separate modules containing packages related to different aspects of your project. If you want to run your main class using Java's java command, you might use a command like this:
javac -d out --module-path ./myproject -cp out/main.class
Here, the -module-path option tells the JVM where to find the modules required by your application. In this case, we're telling it to look in the same directory as our project (./myproject) for any additional modules.
To make things even easier, you can also use Maven or Gradle, build tools that integrate well with Java modules and provide features like automatic module detection and dependency management.
In conclusion, Java modules are a valuable addition to the JDK, offering a new way to structure your projects and manage dependencies between different parts of your code. By using the module-path option when running or compiling Java code, you can ensure that your application has access to all the necessary modules and JAR files.
Please let me know if this explanation helped clarify things for you!
Java module path eclipse
I'd be happy to help with your query about Java module paths in Eclipse!
In order to use the Java Module System (JEP 261) in Eclipse, you'll need to configure the module path and ensure that your project is set up correctly. Here's a step-by-step guide on how to do this:
Step 1: Set up the Java Module System
To start using modules in Eclipse, you first need to install the Java SDK (Software Development Kit) version 12 or later. This is because the Java Module System was introduced as part of JDK 12.
Once installed, make sure that your project's SDK is set to this newer version by right-clicking on the project folder, selecting "Properties" from the context menu, and then choosing the "Java Build Path" option. Under the "Libraries" tab, select the "Execution Environment JRE" item and choose the correct JDK 12 or later version.
Step 2: Create a module
To create a new module, right-click on your project folder in the Package Explorer view, then select "New" > "Module" from the context menu. Give your module a name (e.g., "MyApp") and choose the correct package name for it.
Step 3: Define modules and their dependencies
In Eclipse, each Java module needs to be defined explicitly with its own source directories, class files, and dependencies. You can do this by creating a file called module-info.java in your project's root directory, which will contain the necessary metadata about your module.
Here's an example of what the module-info.java file might look like:
@Module(name = "MyApp", automatic-Modules = true)
public class MyApp {
public exports all;  // Make the entire project accessible to other modules
}
Step 4: Configure the module path
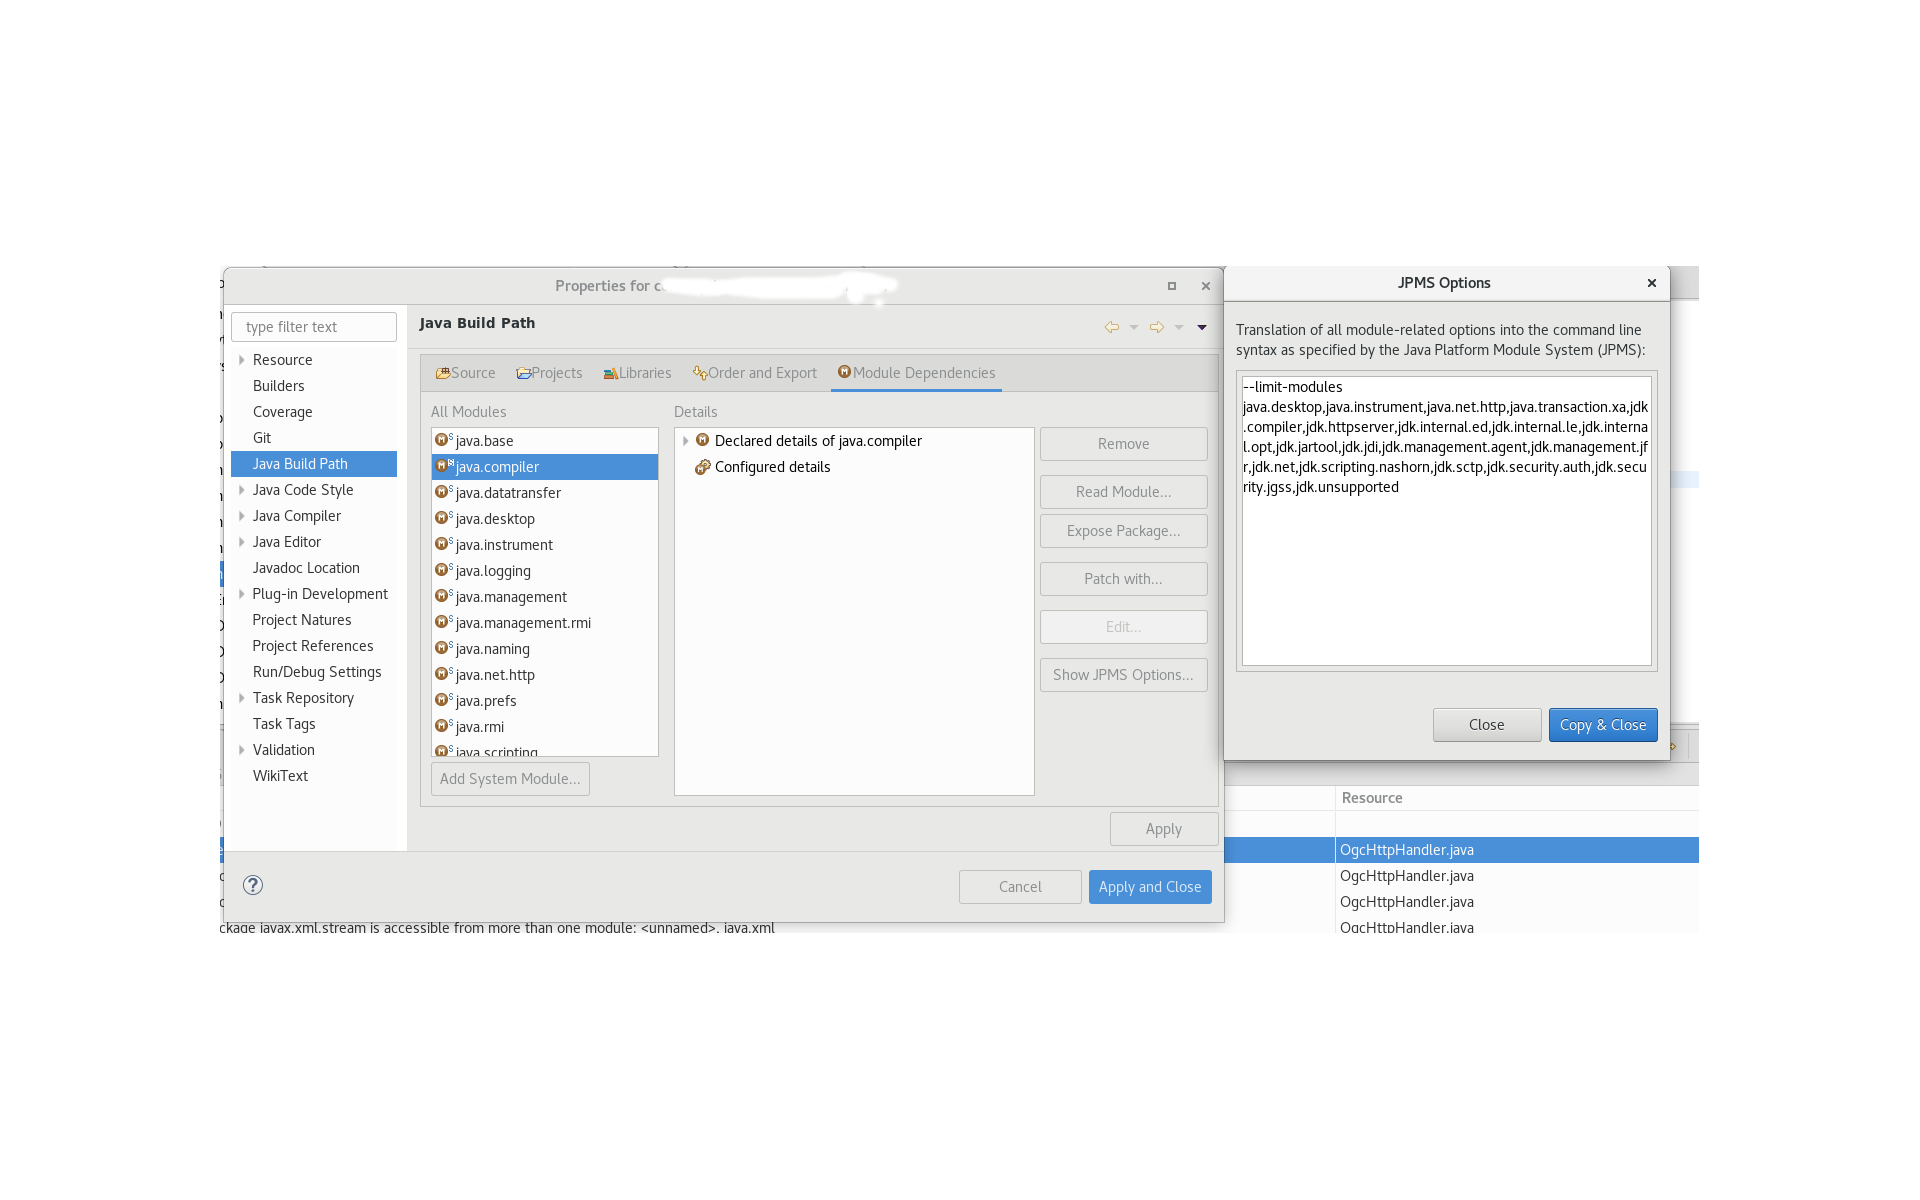
To tell Eclipse where to find your module, you need to configure the module path. This can be done by right-clicking on your project folder in the Package Explorer view, then selecting "Properties" from the context menu and choosing the "Java Module Path" option.
Here, add the directory that contains your module-info.java file (the root directory of your module). You should also specify any dependencies you might have. For example:
MyApp/MyApp
Step 5: Build your project
After configuring the module path and defining your module's dependencies, you can now build your project using Eclipse's built-in compiler. Make sure that your project is correctly configured to use the newer Java SDK version.
When building your project, Eclipse will automatically generate a module-info.class file based on your module-info.java file. This file contains the necessary metadata about your module.
Step 6: Run your module
Once your project has been built successfully, you can now run your module using Eclipse's built-in runtime environment. To do this, right-click on your project folder in the Package Explorer view, then select "Run As" > "Java Module".
This will launch a new JVM instance that will load and execute your module according to its defined dependencies.
That's it! With these steps, you should now be able to use Java modules with Eclipse.