How to remove 32-bit Java and install 64-bit?
How to remove 32-bit Java and install 64-bit?
I'll respond in English only as per your request.
Removing 32-bit Java and installing 64-bit can be a bit of a process, but I'll guide you through it step-by-step.
Before You Begin

uname -a in the terminal or command prompt. This will tell you whether you're running on a 32-bit (i686) or 64-bit (x86_64) platform.
Removing 32-bit Java
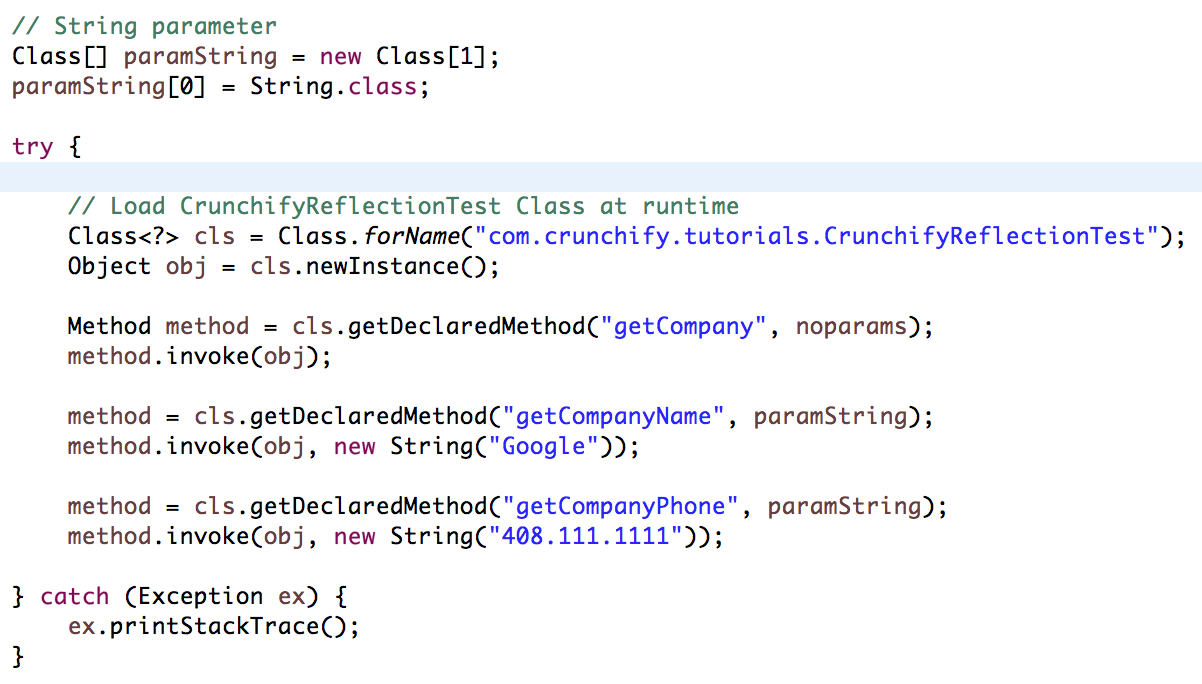
Identify the JRE and JDK: Find out which version of Java Runtime Environment (JRE) and Java Development Kit (JDK) you have installed. You can do this by runningjava -version and javac -version in your terminal or command prompt. Remove 32-bit JRE and JDK: Uninstall the 32-bit JRE and JDK using the appropriate package manager for your operating system: On Ubuntu-based systems (e.g., Linux Mint): sudo apt-get purge oracle-java-setupto-32 On Fedora-based systems (e.g., CentOS, RHEL): sudo yum remove java-1.8.0-openjdk-headless (or the version you have installed) Remove Any Remaining Java Files: Search for and delete any remaining Java files or directories: In Linux: find /usr/lib -name jdk1.7 | xargs rm -rf In Windows: Use the File Explorer to search for and delete the Java directories (e.g., C:Program FilesJava)
Installing 64-bit Java
Download the 64-bit JRE and JDK: Go to the official Oracle Java website (https://www.oracle.com/java/), download, and install the 64-bit version of Java Development Kit (JDK) and Java Runtime Environment (JRE). Install the 64-bit JRE and JDK: Follow the installation instructions for your operating system: On Linux: Extract the downloaded archive to a directory (e.g., /usr/lib) and update your system'sPATH environment variable. On Windows: Run the installer, follow the prompts, and ensure you install the 64-bit version of Java. Verify Java Installation: After installation, run java -version in your terminal or command prompt to ensure the 64-bit JRE is installed correctly.
Post-Installation Checks
Check Java Version: Runjava -version to verify that you're now running on a 64-bit Java environment. Verify Java Runtime Environment (JRE) and Development Kit (JDK): Ensure both the JRE and JDK are updated and pointing to the new, 64-bit installation.
Remember to restart your system or terminal if prompted during the installation process. It's also essential to keep in mind that not all applications will automatically switch to using the new 64-bit Java environment; some might still require the old 32-bit JRE.
Please note that this is a general guide, and specific steps may vary depending on your operating system, installed software, or other factors. Always backup important files before making changes, and be cautious when deleting system files.
How to change java from 32 to 64 bit windows 7
Changing the Java version from 32-bit to 64-bit on Windows 7 is a straightforward process that requires some attention to detail. Here's a step-by-step guide to help you accomplish this:
Prerequisites
Ensure your Windows 7 operating system is 64-bit capable (you can check this by right-clicking onComputer in the Start menu and selecting Properties). If it's not, you'll need to upgrade or reinstall your OS with a 64-bit version. Verify that you have the 32-bit Java Runtime Environment (JRE) installed on your system. You can do this by searching for java.exe in the C:Program Files (x86)Javajre1.8.0_131bin directory (assuming you're running Java 8, but adjust accordingly if you have a different version).
Step-by-Step Instructions
Uninstall 32-bit JRE
Go to theControl Panel, then select Programs and Features. Click on Java SE Runtime Environment (or your specific JRE version) from the list of installed programs. Click the Uninstall/Change button to initiate the uninstallation process. Follow the prompts to complete the uninstallation.
Download and Install 64-bit JRE
Visit Oracle's Java website (https://www.oracle.com/java/index.html) and click on theFree Java Download button. Choose your operating system as Windows 7 (x64), and select the latest version of Java available (e.g., Java SE 11, Java SE 8, etc.). Click on the Download Now button to start the download process. Once the download completes, run the installation file (jre-11-x64.exe, for example) and follow the prompts to install the 64-bit JRE.
Set Path Environment Variable
Right-click onComputer in the Start menu, select Properties, then click Advanced system settings. Click Environment Variables from the resulting window. Under System Variables, scroll down and locate the Path variable. Select it, then click Edit.... In the Edit Environment Variable dialog box, add a new entry at the beginning of the existing path (use the ; symbol to separate entries):
C:Program FilesJavajre1.8.0_131bin
(Remember to adjust this path accordingly based on your installed Java version and directory structure.)
Verify 64-bit JRE Installation
Open a new Command Prompt or terminal window. Type the commandjava -version (without quotes) and press Enter.
If everything is set up correctly, you should see output similar to:
java version "11.0.11"
Java(TM) SE Runtime Environment (build 11.0.11+10)
Congratulations! You have successfully updated your Java installation from 32-bit to 64-bit on Windows 7.
Final Notes
Make sure you update any Java-based applications, such as IDEs or frameworks, to accommodate the new 64-bit JRE. Keep in mind that some older software might not be compatible with the 64-bit JRE. In these cases, you may need to use a compatibility layer (like Wine) or seek alternative solutions.By following these steps and being mindful of potential compatibility issues, you'll enjoy smoother performance and increased functionality with your upgraded Java environment on Windows 7!